
Gemstone
Bracelets
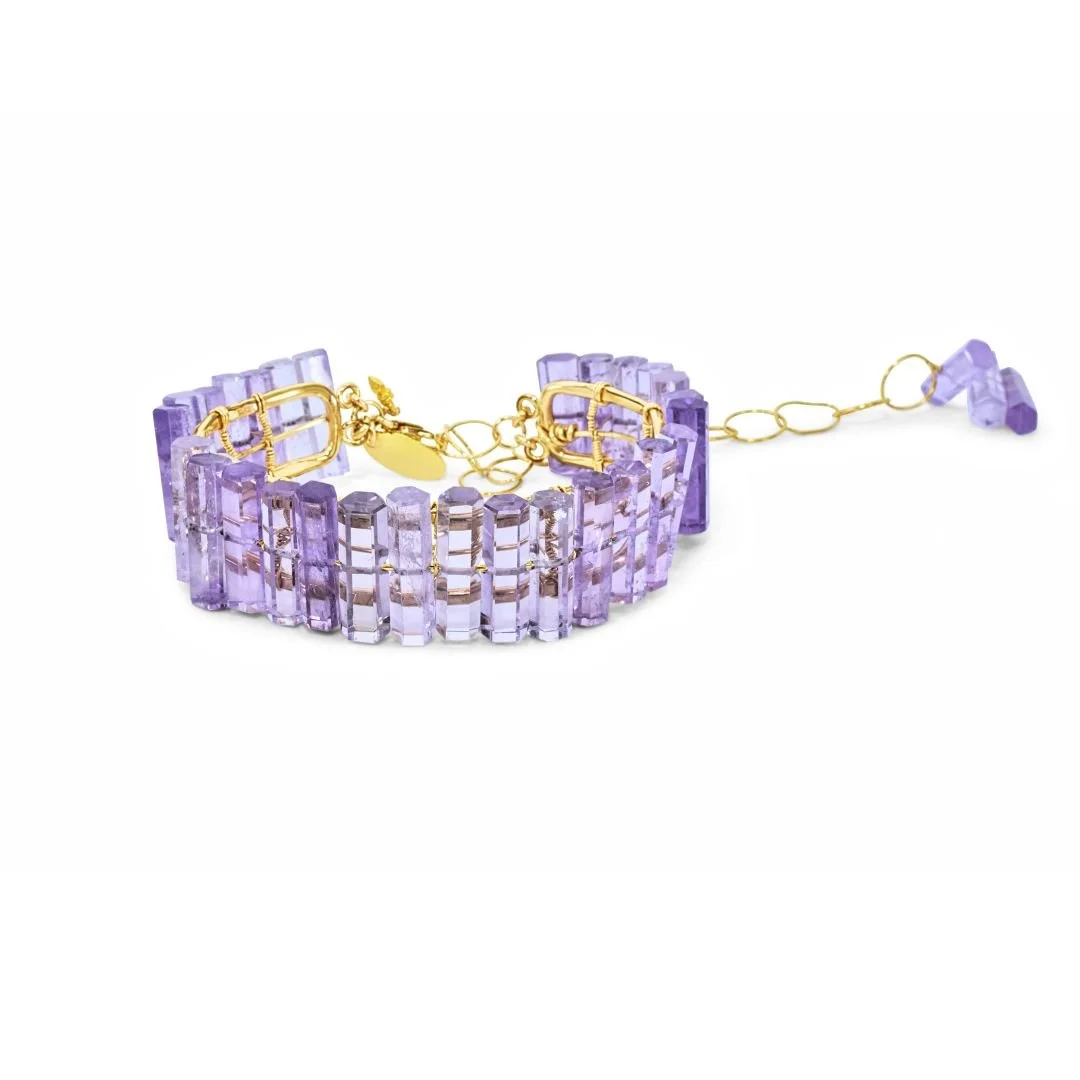
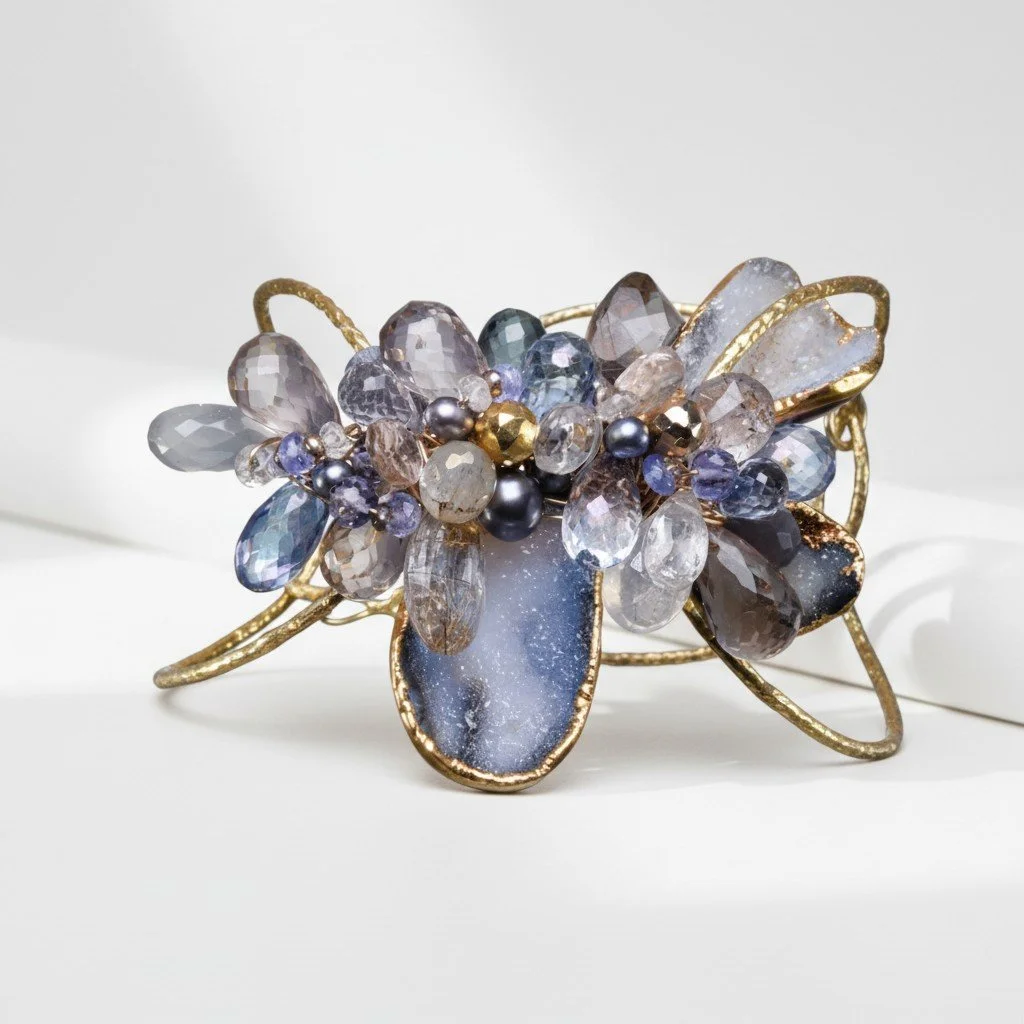
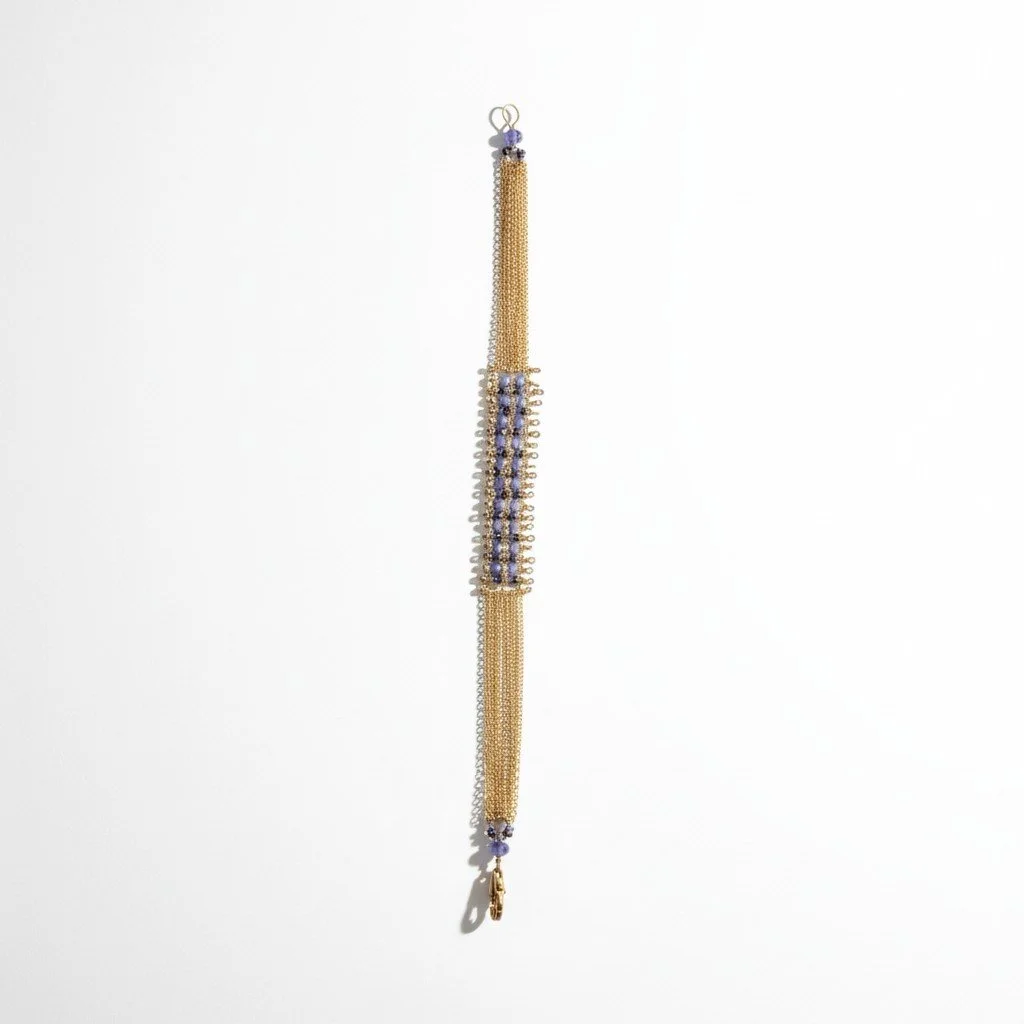
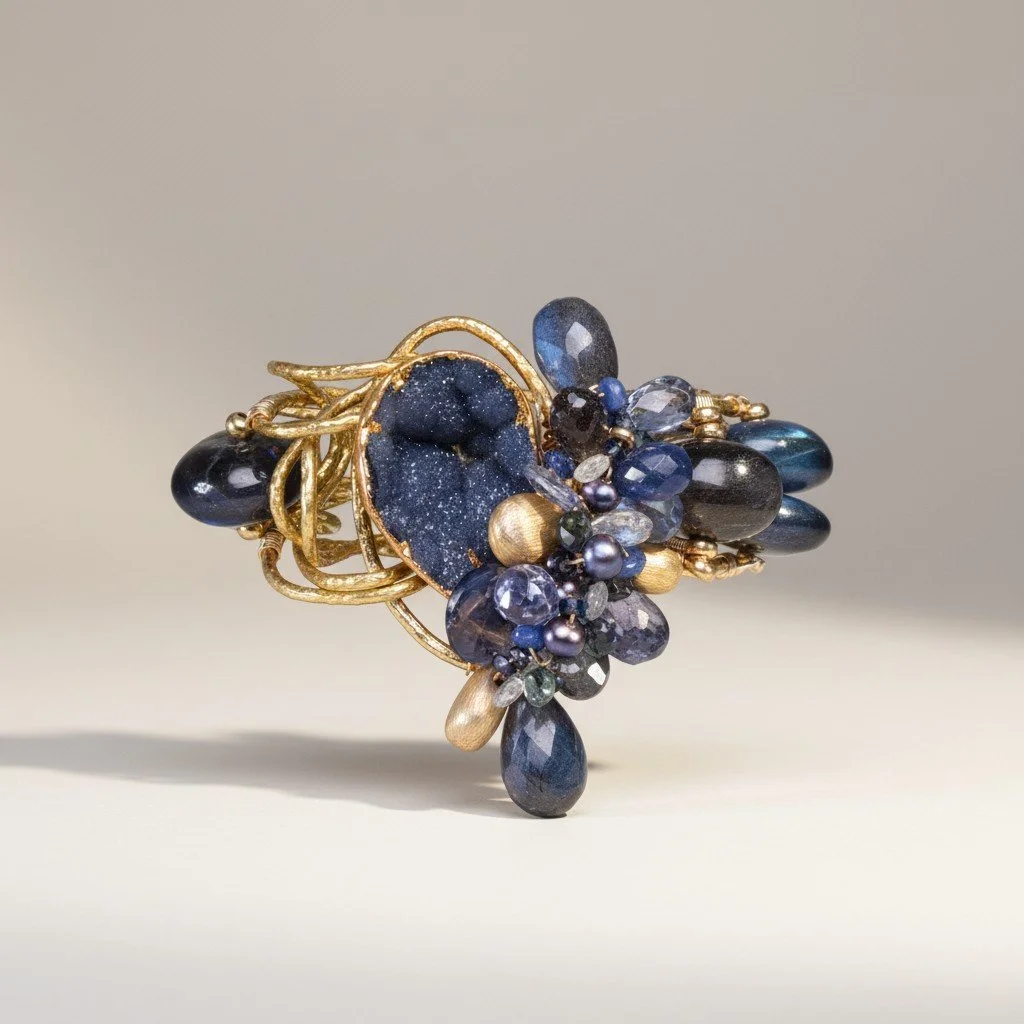
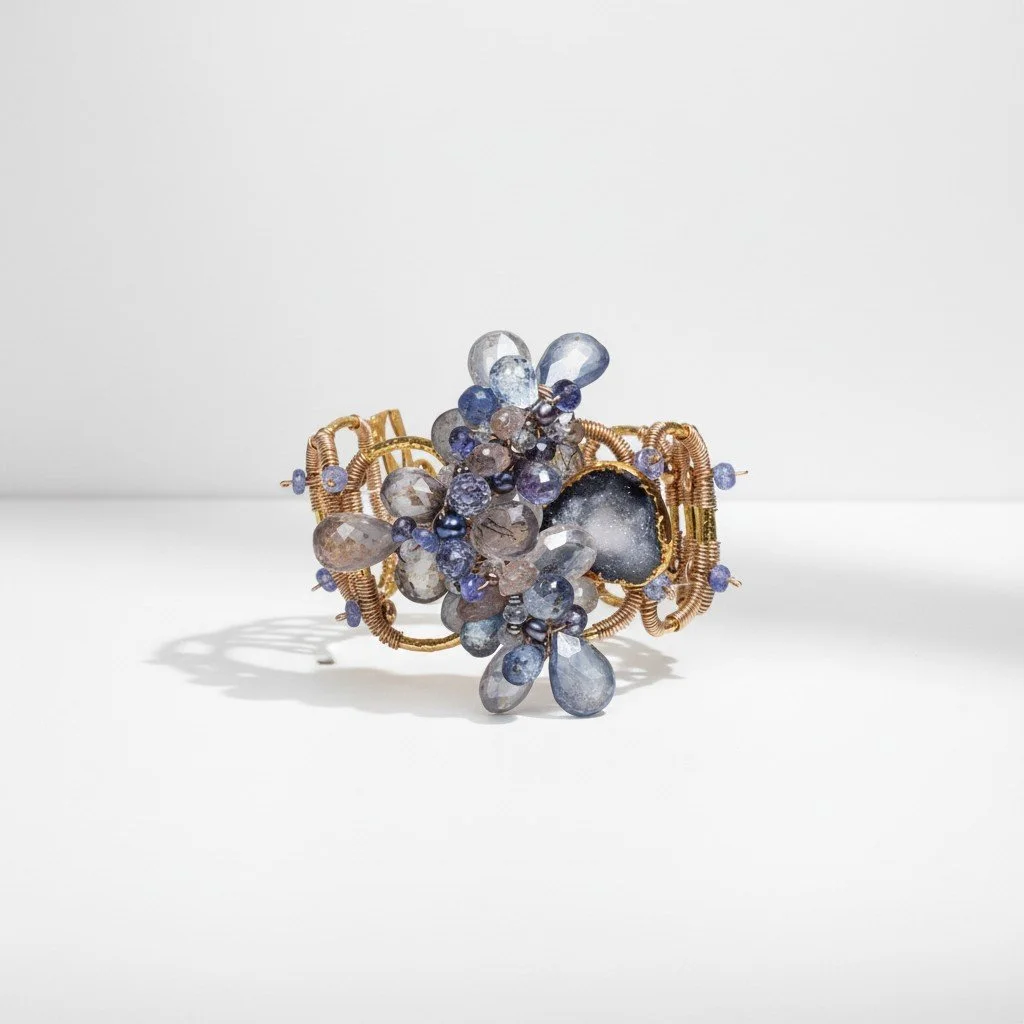
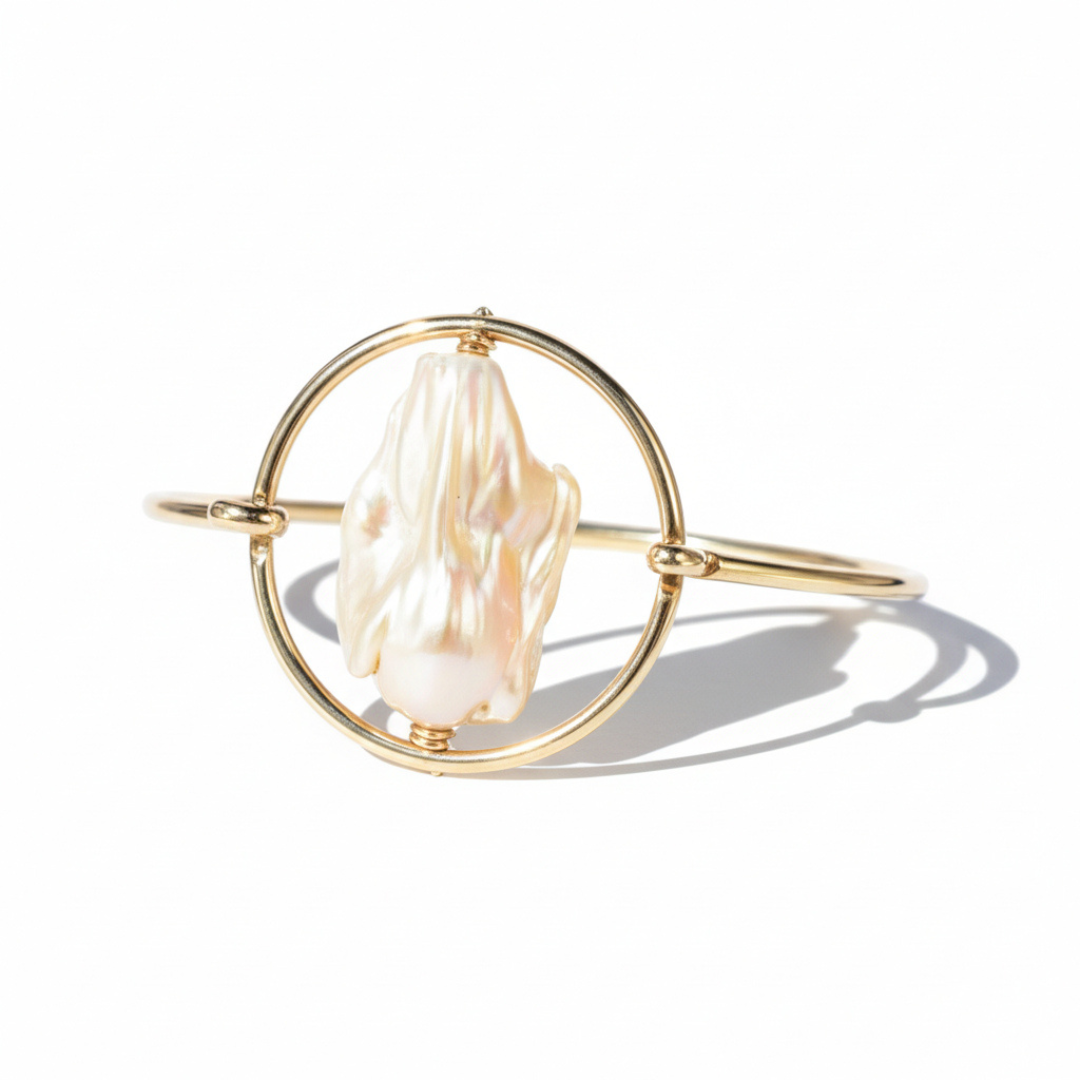
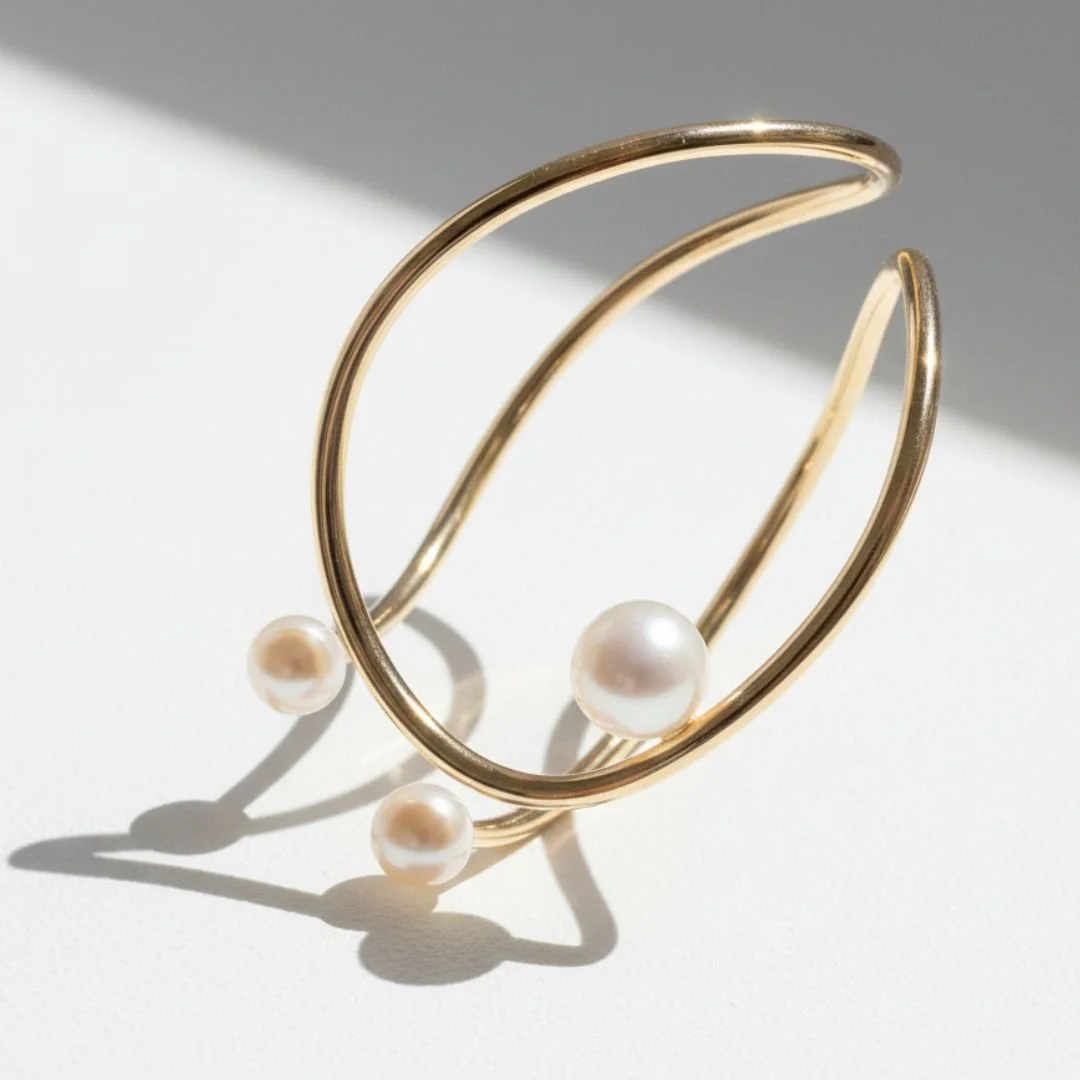
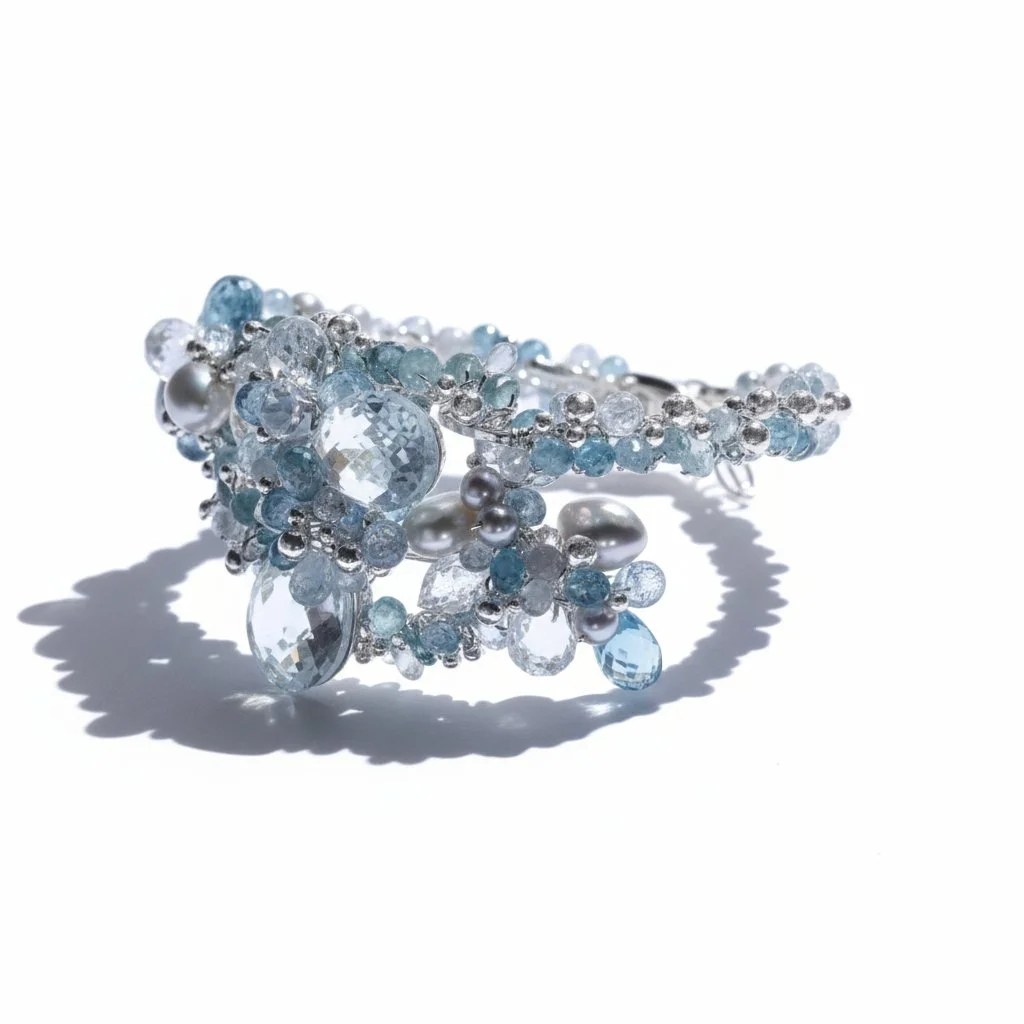
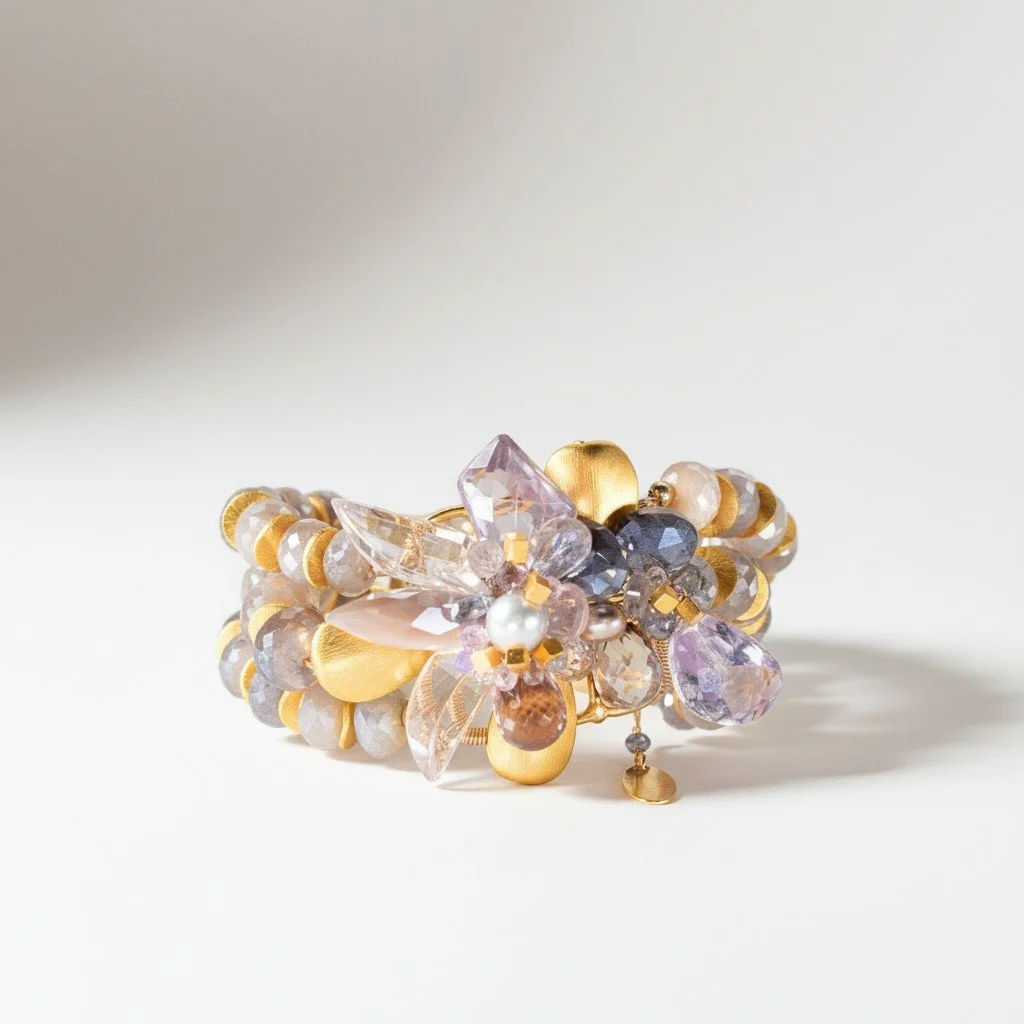
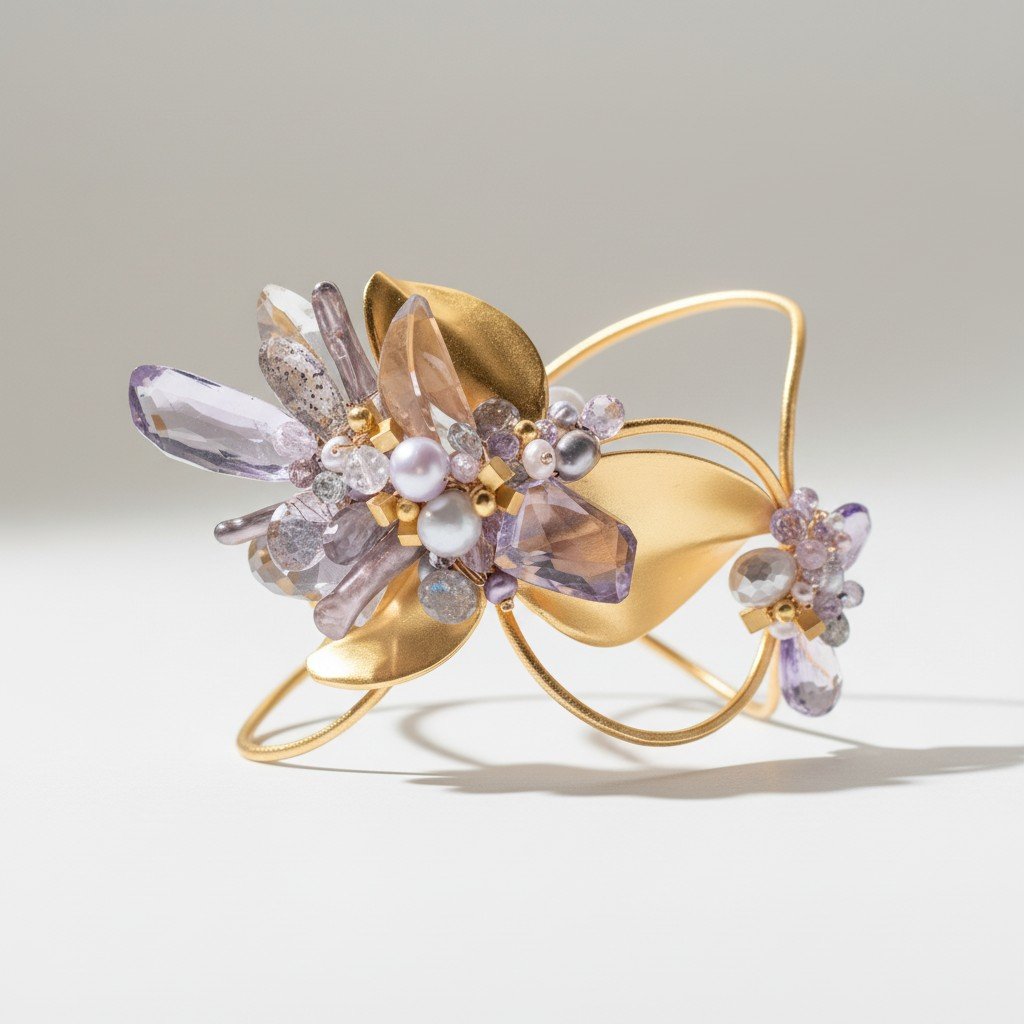
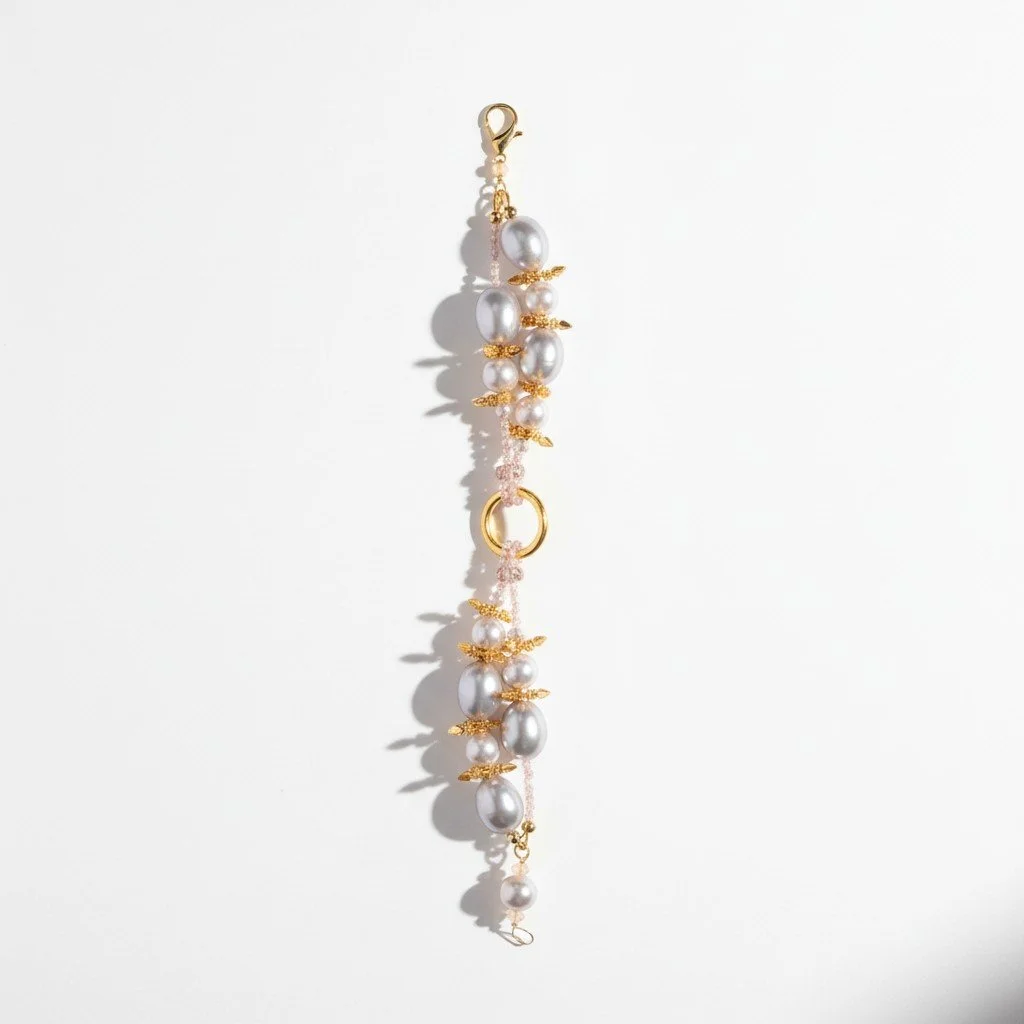
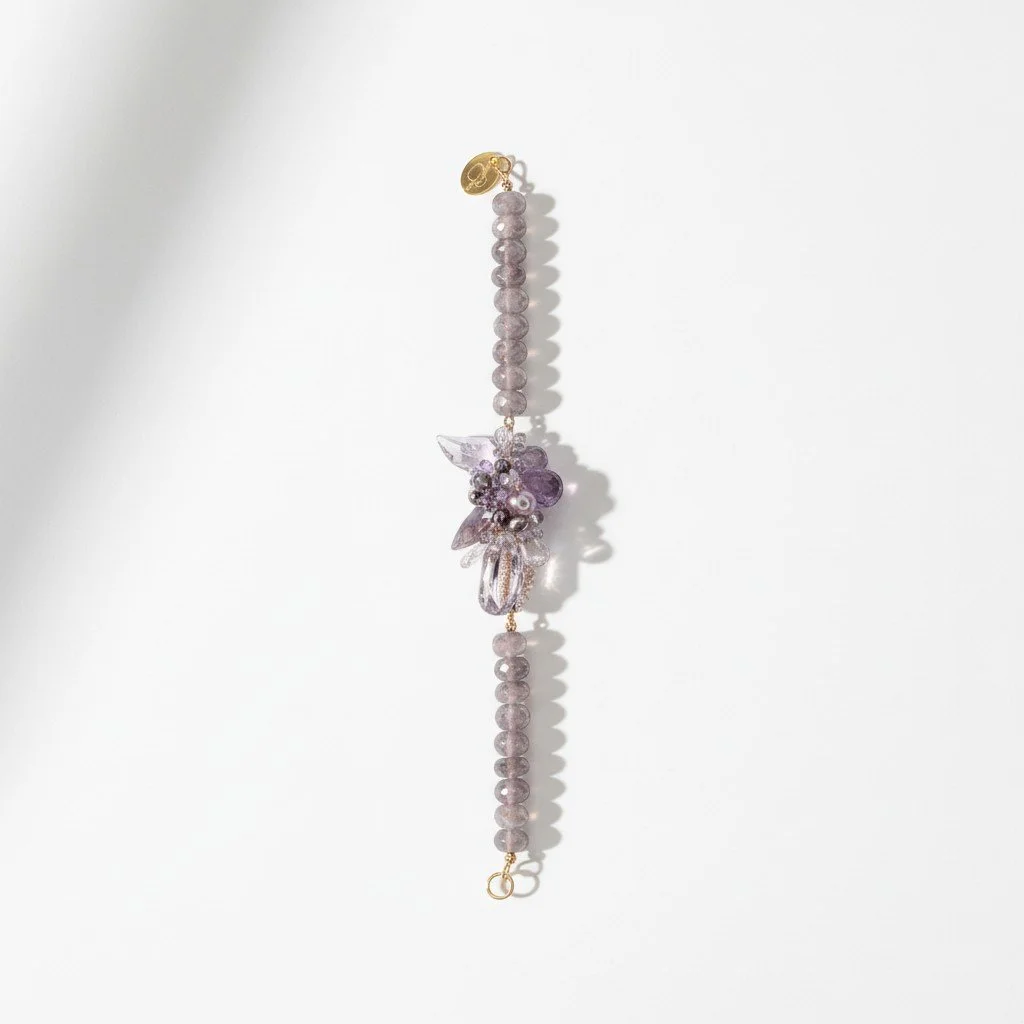
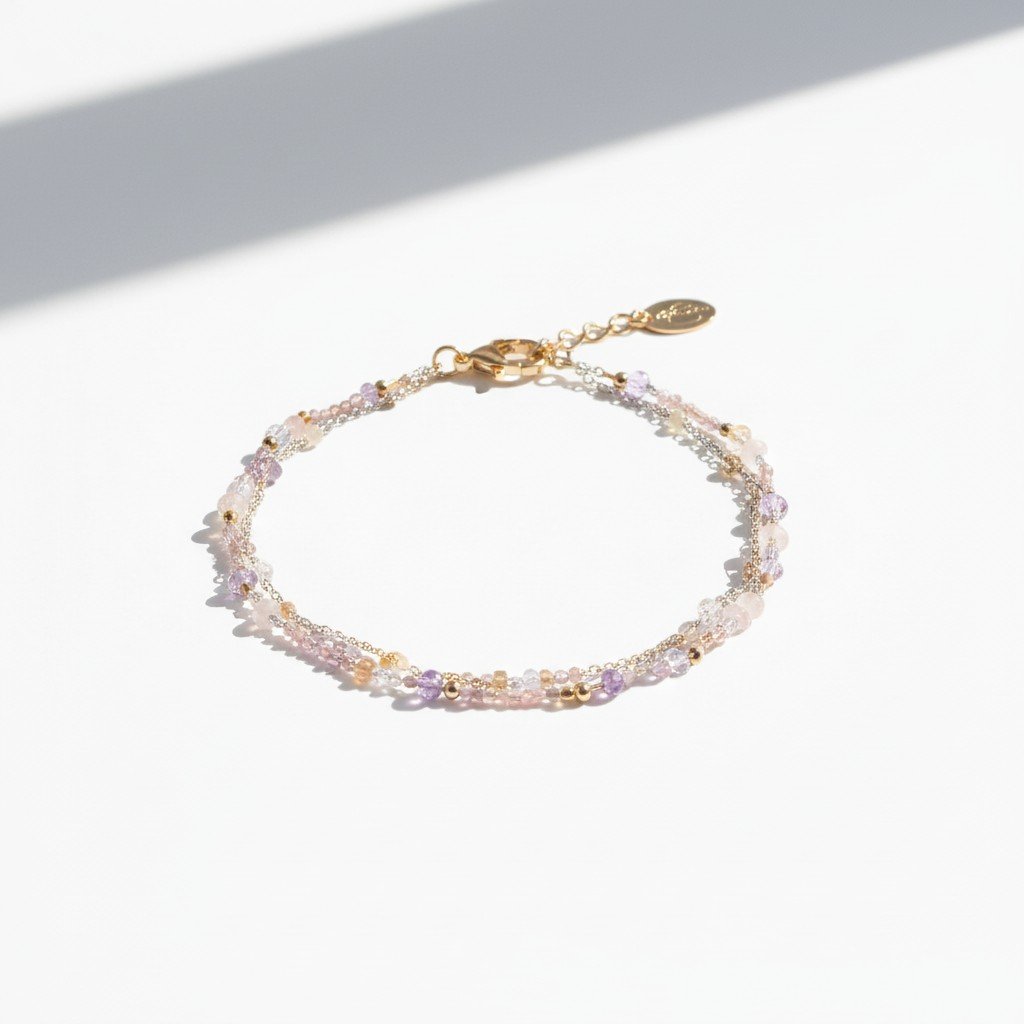
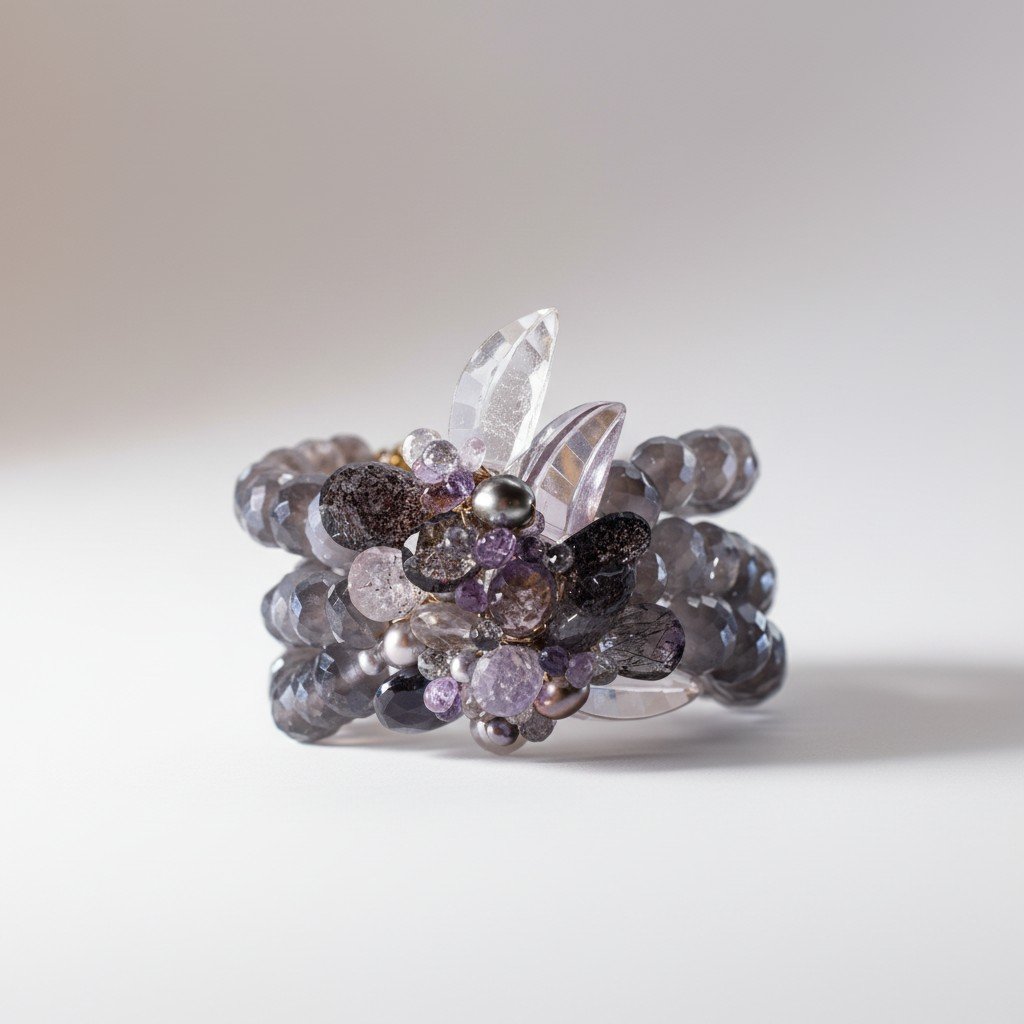
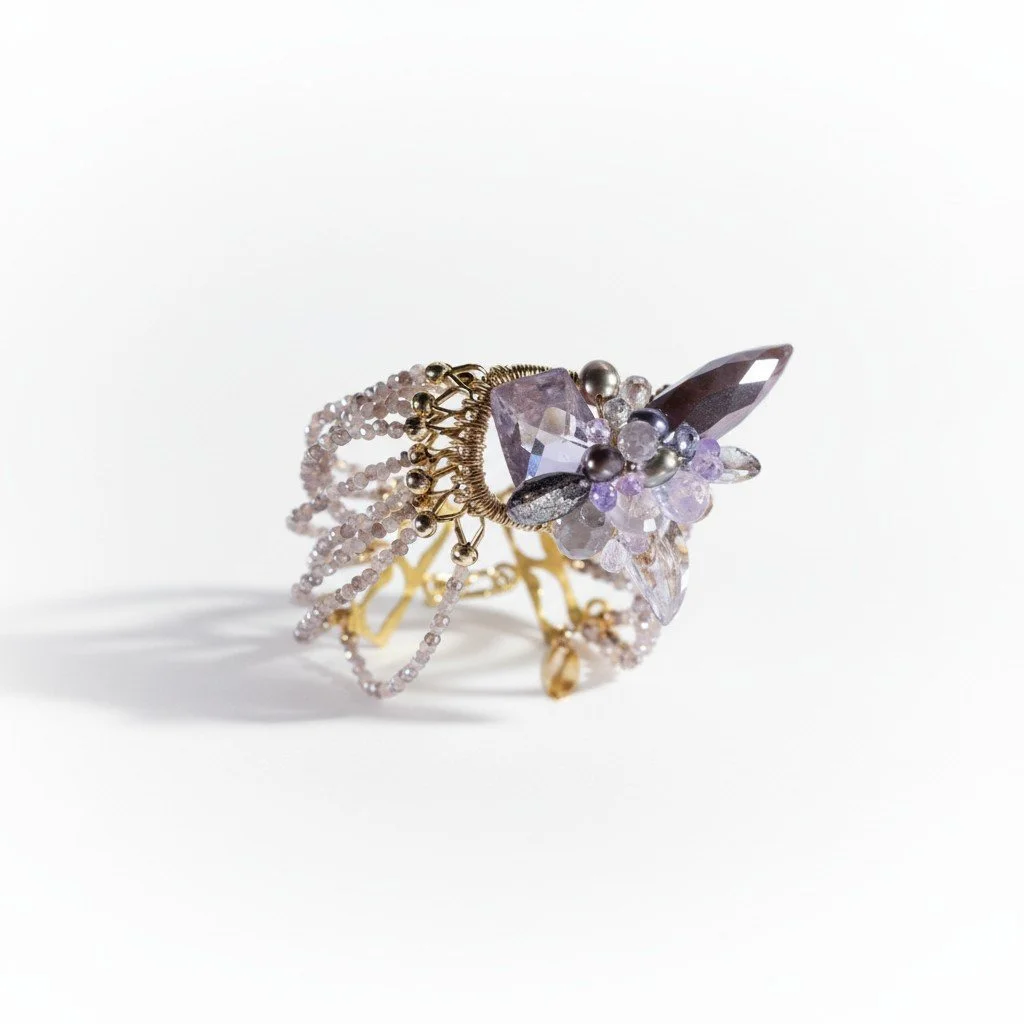
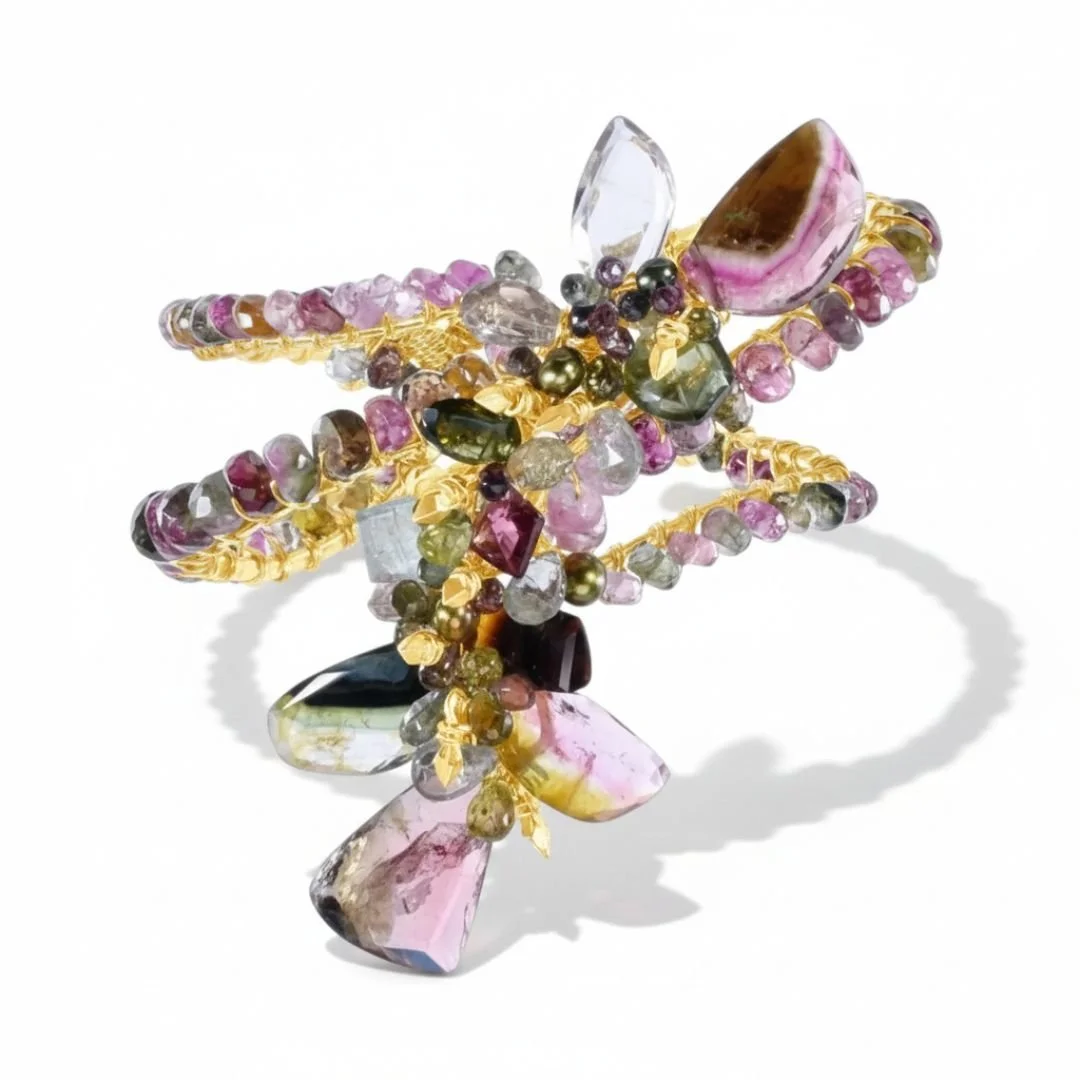
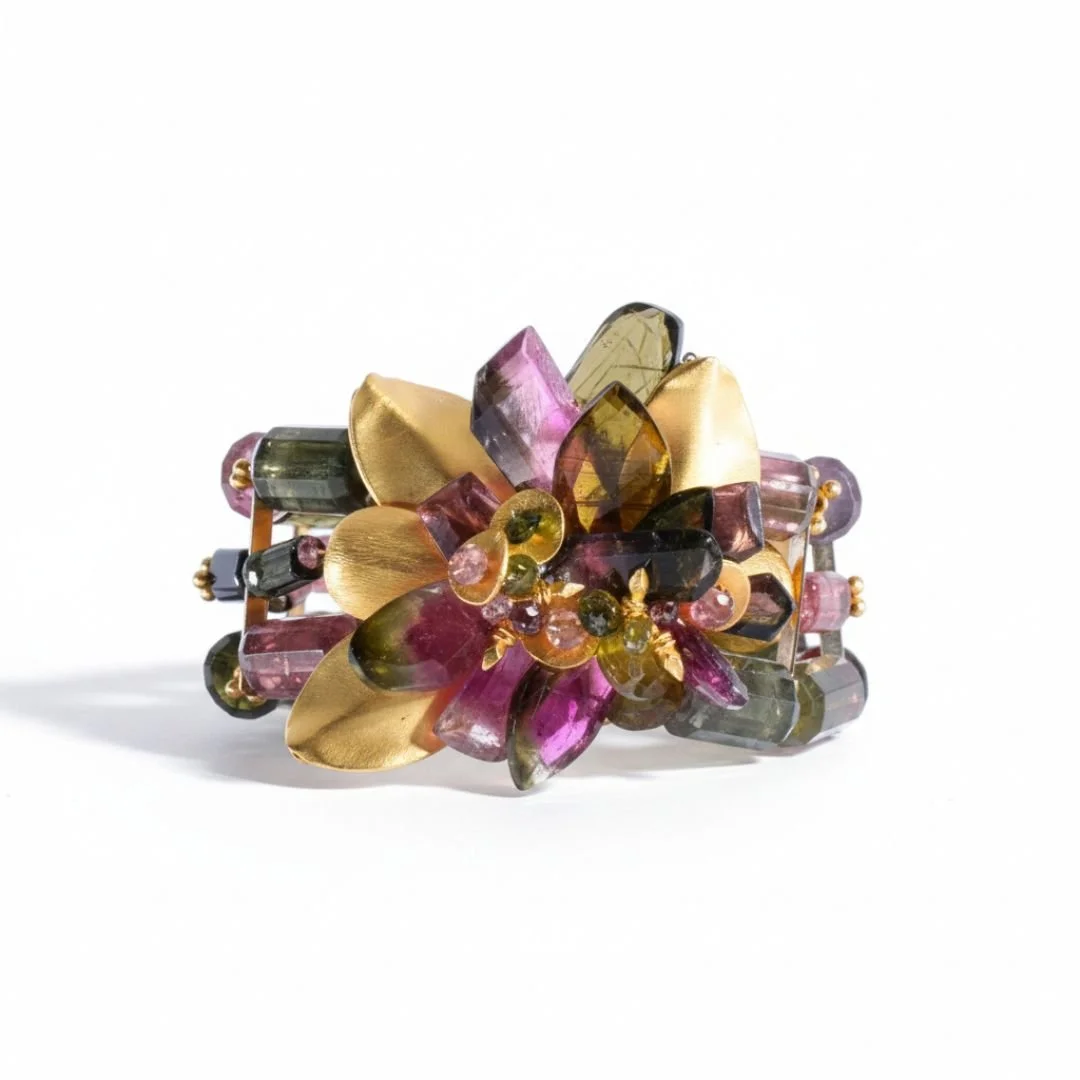
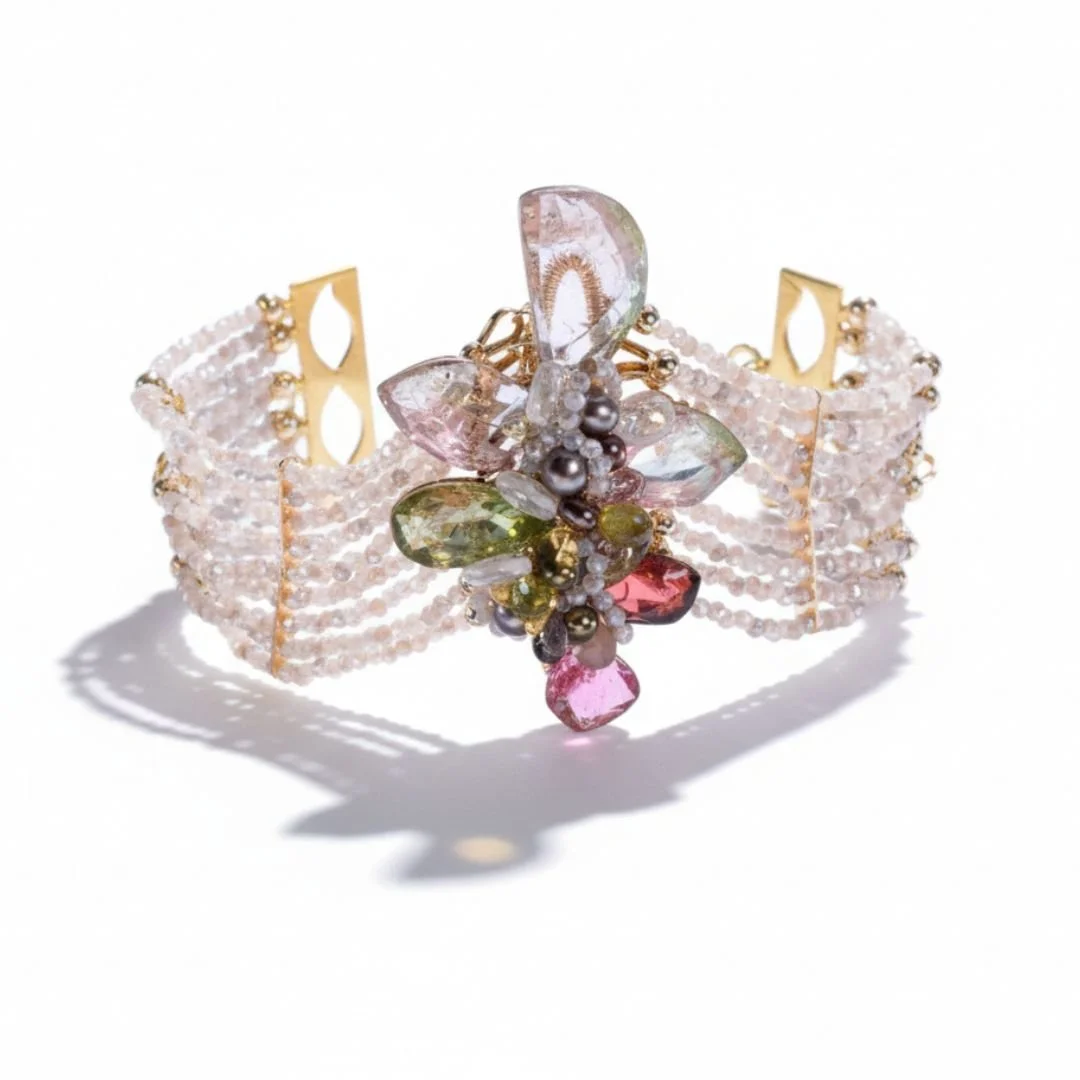
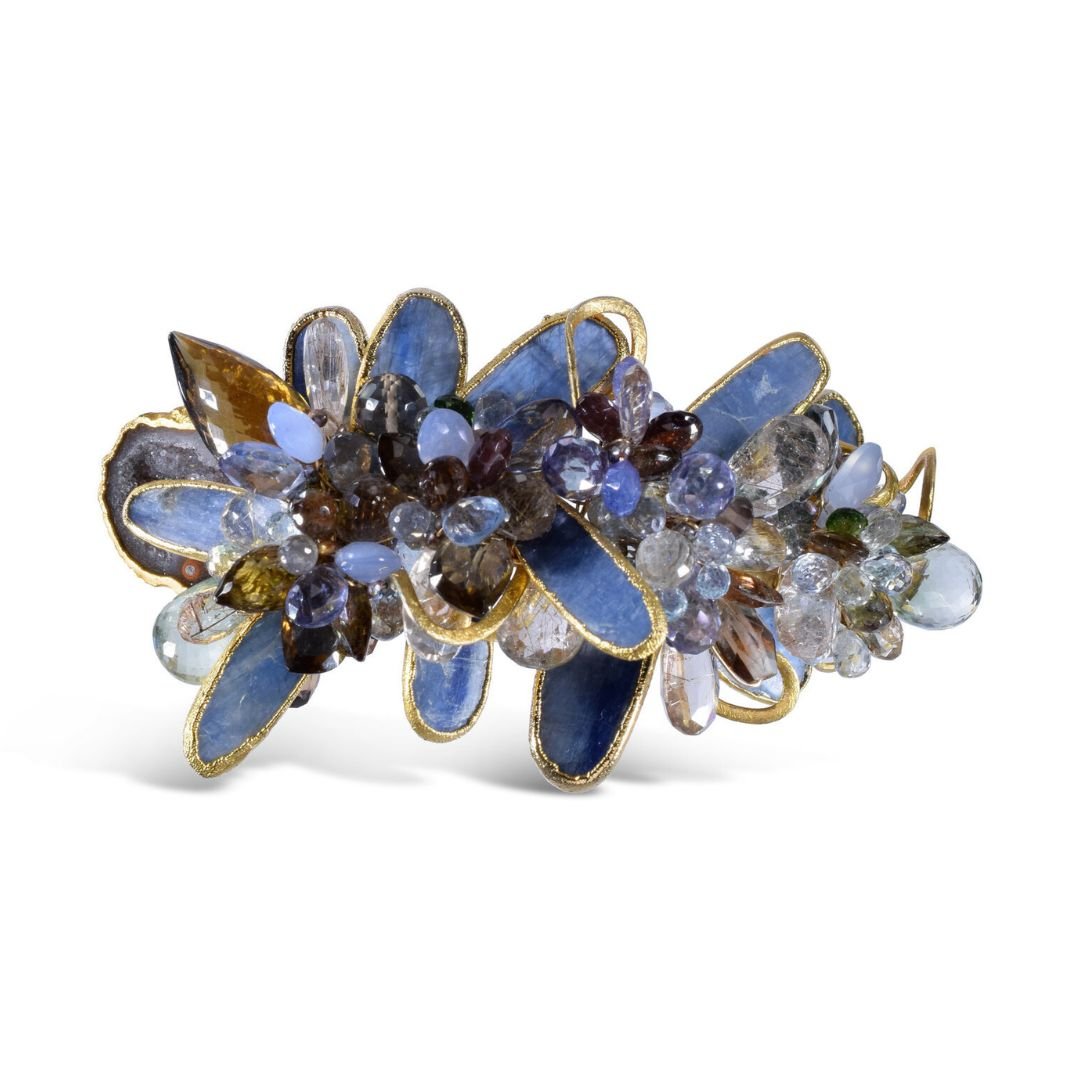
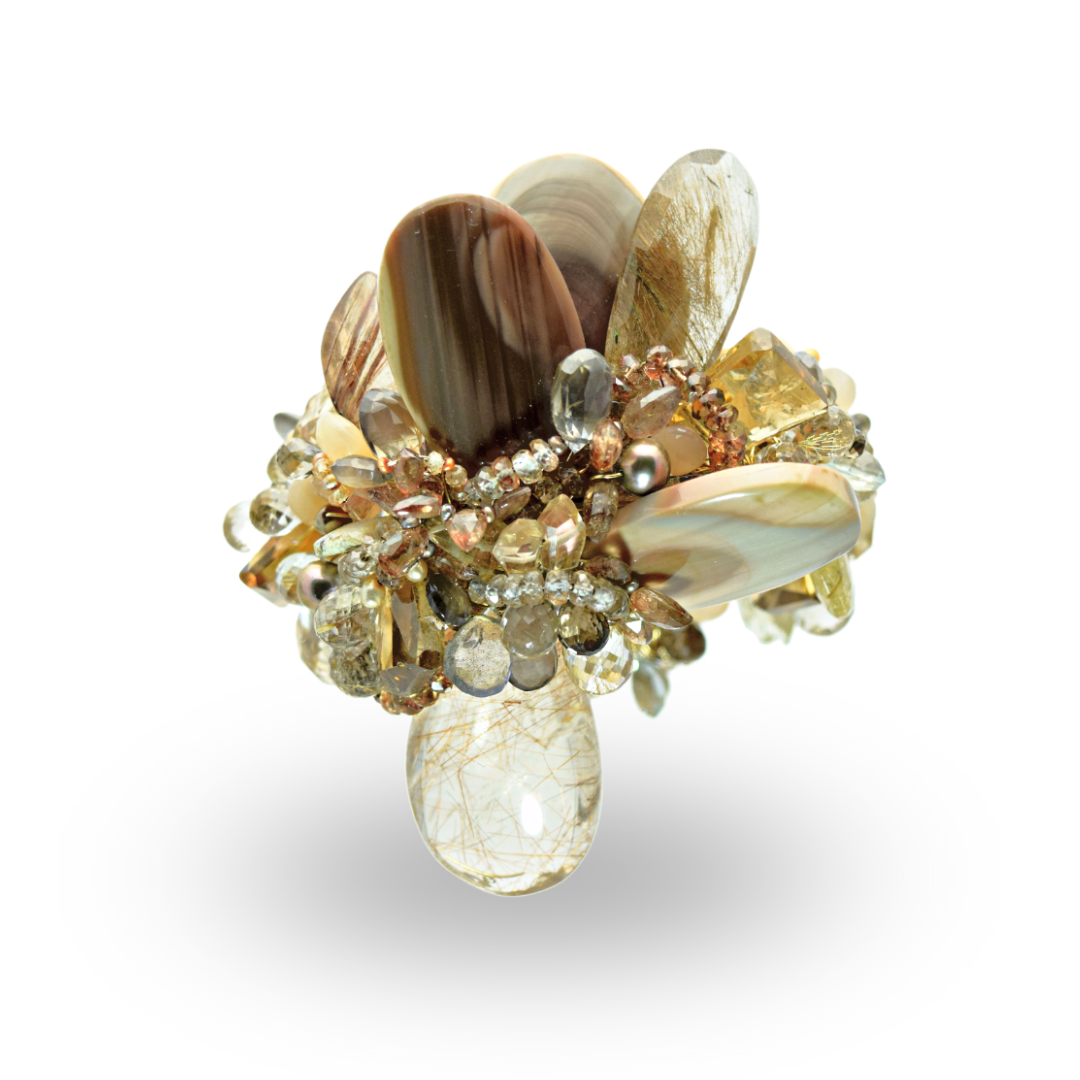
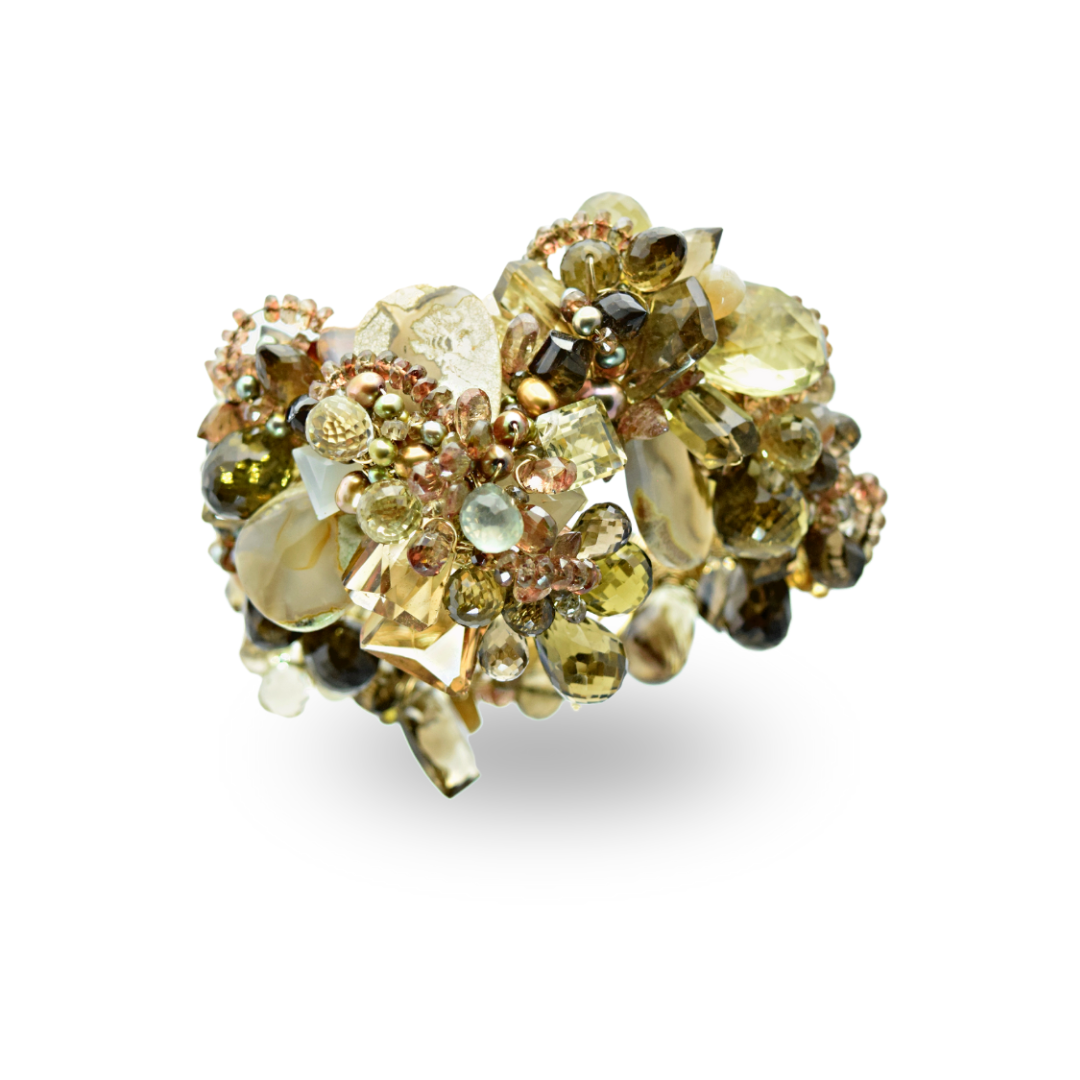
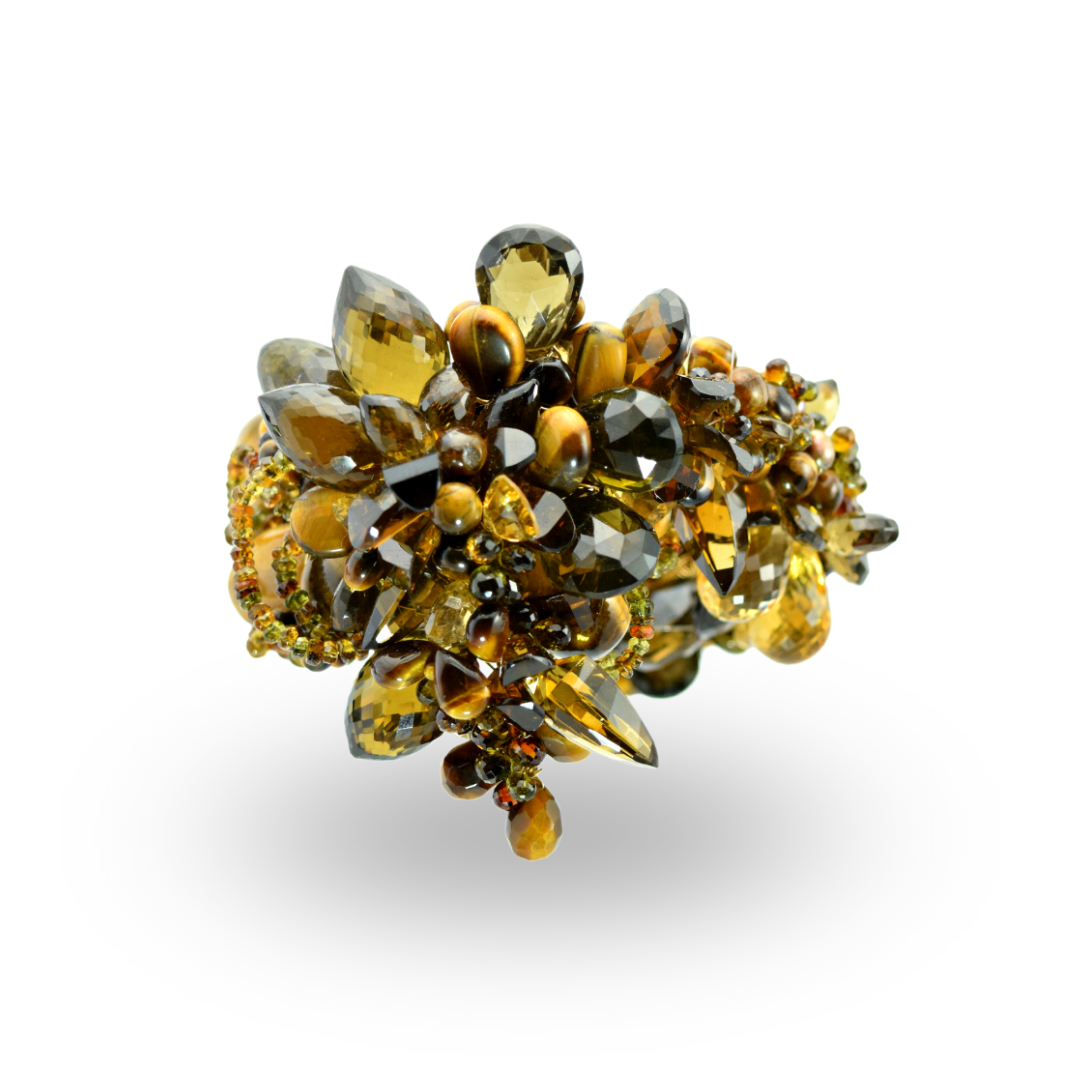
Andrea Li Handcrafted Gemstone Bracelets
Discover the transformative power of wearable sculpture with limited-edition gemstone cuffs and bracelets. Handcrafted for the visionary who rejects the ordinary, these intricate pieces are as unreplicable and authentic as the woman who wears them.


Hi there!
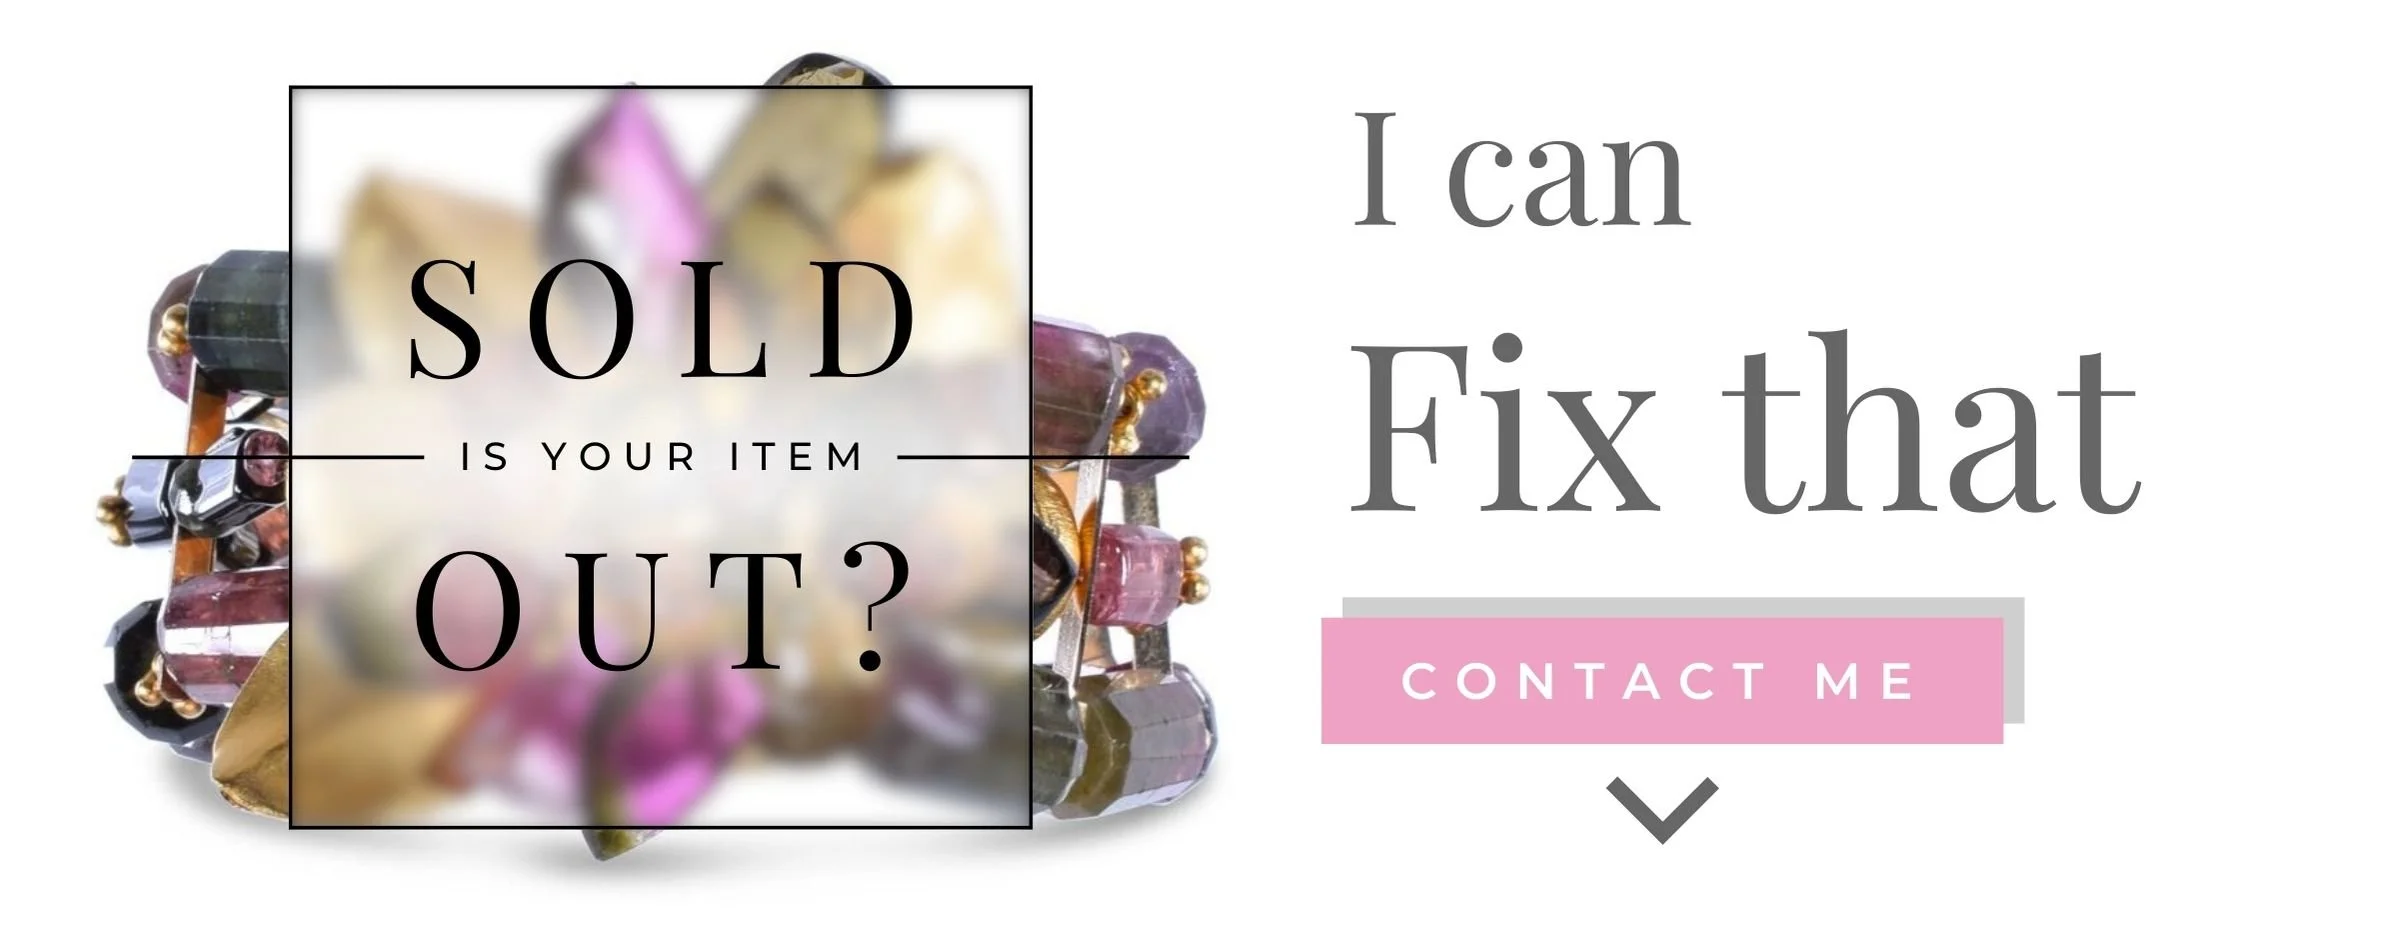
Do you see a piece you love that is sold out?
Not to worry, second chances are a thing around here, as are new beginnings.
I can create something similar but different to tell your unique story and customize a design to your preferences.
Sound interesting? Then let’s chat.
Get in touch by filling out this form or emailing me directly.
I try my best to reply to every email, usually within a couple of hours (sometimes minutes).
You can also contact me through my social media:
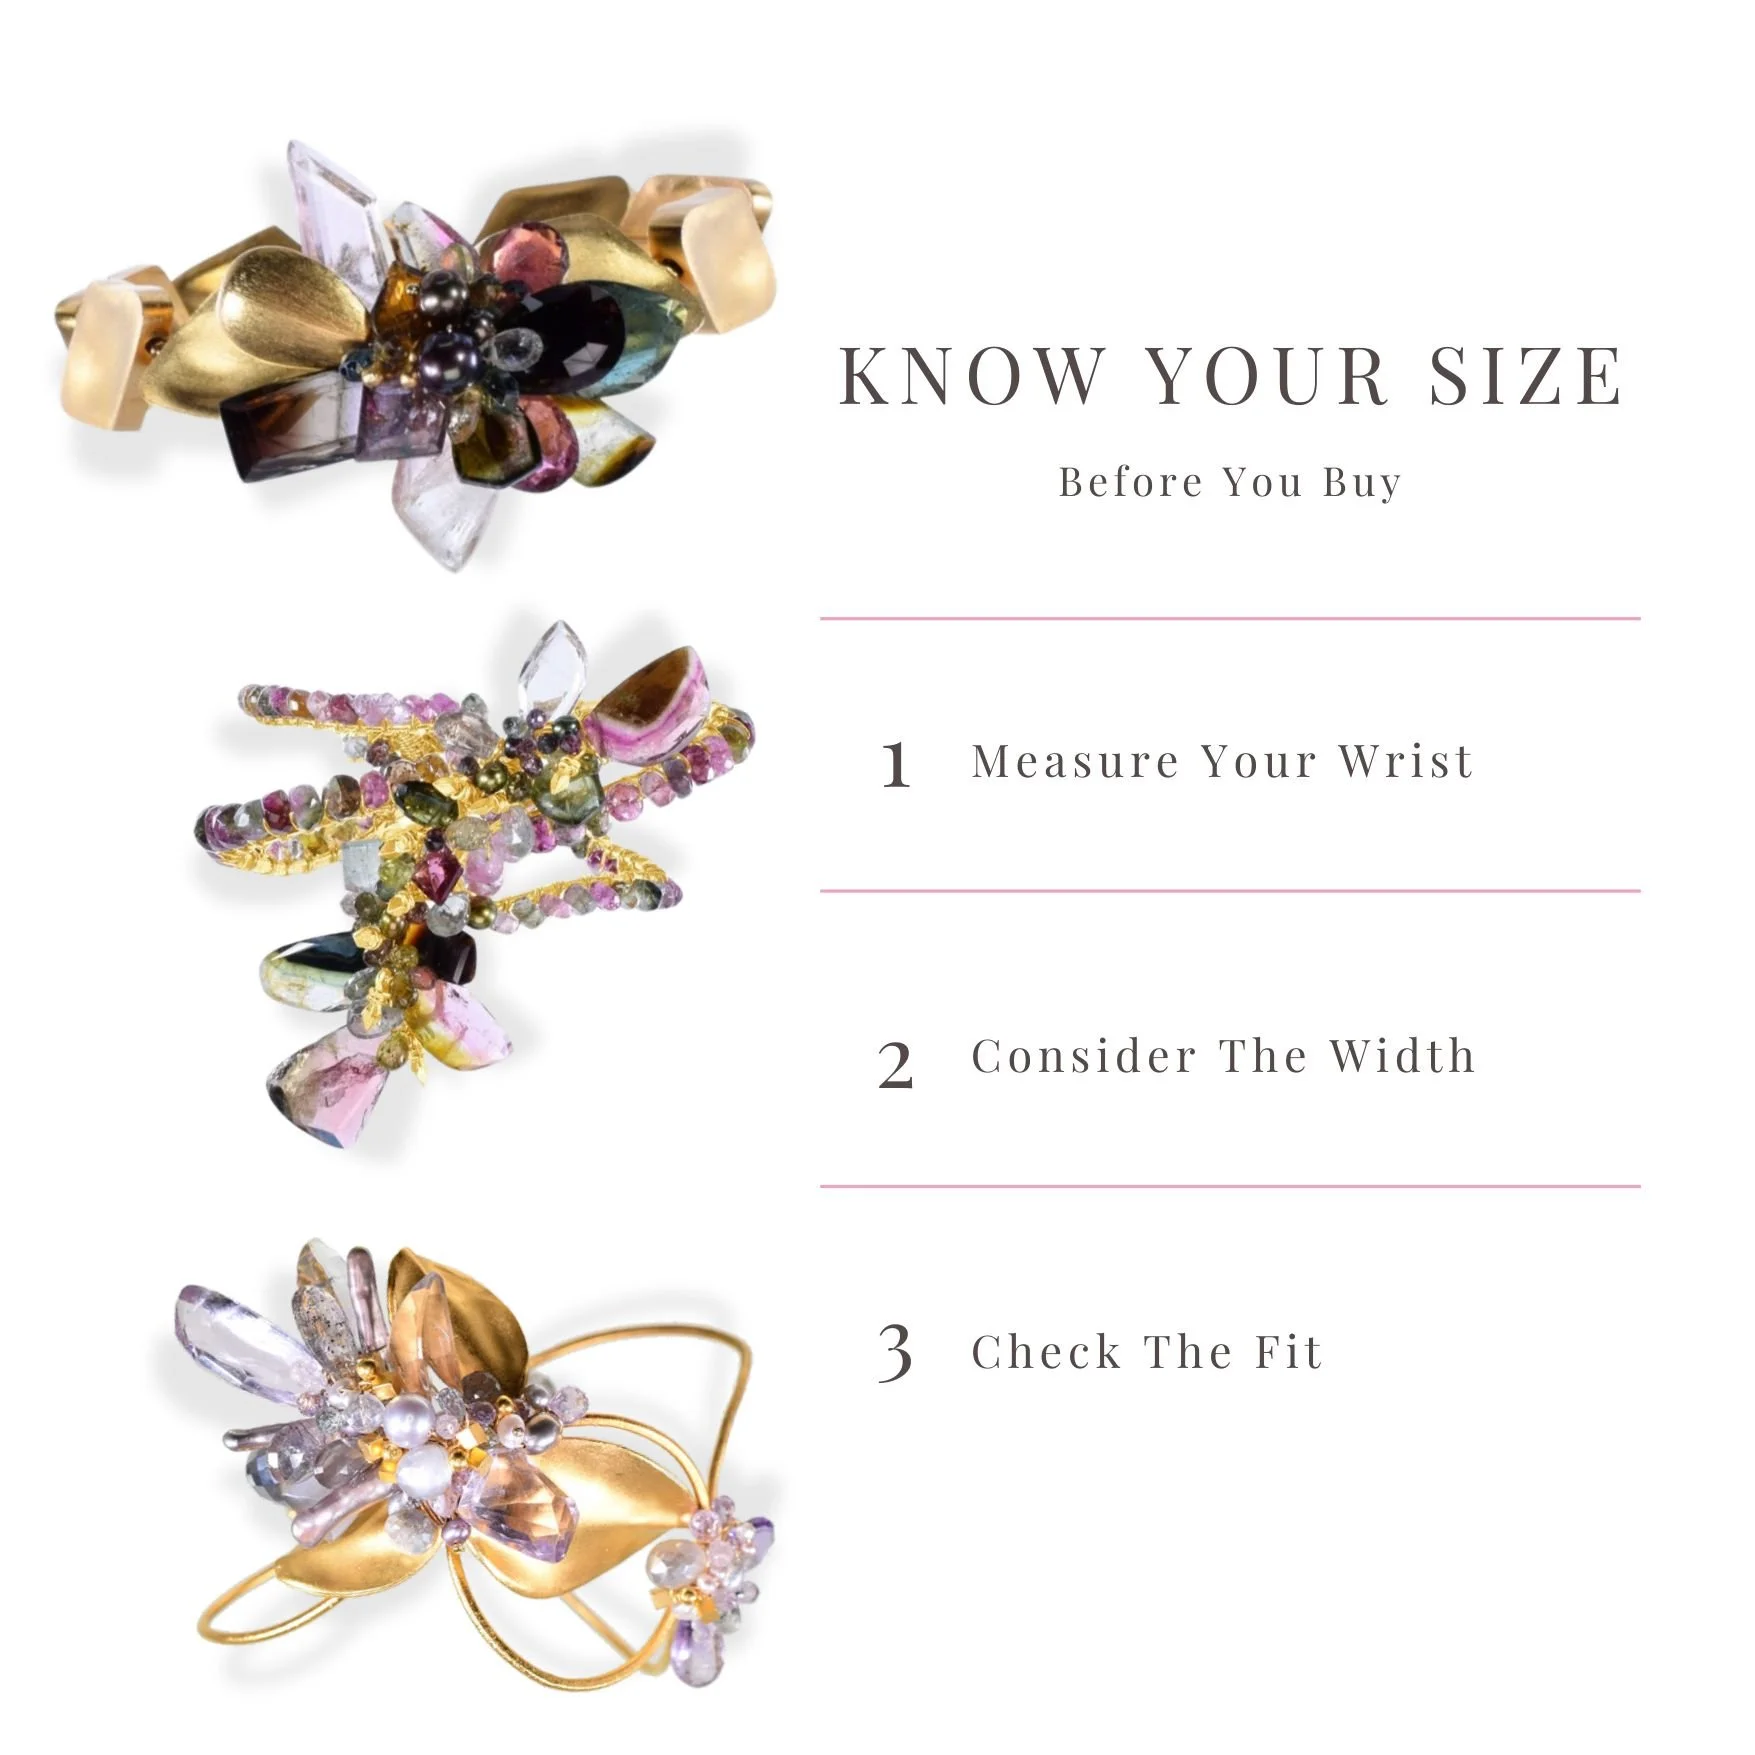
Bracelet Size Guide
Measure around your wrist.
Check wrist to bracelet size chart.
| cm | inches |
|---|---|
| 13 – 13.5 cm | 5.12–5.31″ |
| 14 – 14.5 cm | 5.51–5.71″ |
| 15 – 15.5 cm | 5.90–6.10″ |
| 16 – 16.5 cm | 6.30–6.50″ |
| 17 – 17.5 cm | 6.69–6.89″ |
| 18 – 18.5 cm | 7.09–7.28″ |
| tight | loose |
|---|---|
| XS (14.5 cm) | S (15.5 cm) |
| S (15.5 cm) | M (16.5 cm) |
| M (16.5 cm) | L (17.5 cm) |
| L (17.5 cm) | XL (18.5 cm) |
| XL (18.5 cm) | XXL (19.5 cm) |
| XXL (19.5 cm) |
To determine bracelet size:
for a tight fit, add 1–1.5 cm.
for loose fit, add 2–2.5 cm.

Bracelet Sizing
Custom to You
-
Gather Your Materials:
Start by gathering a flexible measuring tape, a strip of paper, or a piece of string—any of these will do the trick. These simple tools help ensure that you get the most accurate measurement for your ideal bracelet fit.
Find the Right Spot: Position the measuring tape or paper just below your wrist bone, right where your bracelet will sit. This spot is key to getting a measurement that guarantees your gemstone bracelet—whether gold, silver, or multicolor—fits just right.
Wrap and Measure:
- Using a Measuring Tape: Wrap it around your wrist snugly. Remember, it shouldn’t be too tight. You want a comfortable fit, especially for bracelets with gemstones.
- Using Paper or String: Wrap it around your wrist, mark where it overlaps, and then measure the length against a ruler to get your wrist circumference.
Consider Additional Sizing: If you prefer a bit more comfort, especially with chunkier styles like a chunky gemstone bracelet or a multicolor gemstone bracelet, add an extra 0.5 to 1 inch to your wrist measurement. This little bit of extra length can make all the difference in achieving a fit that balances snugness and comfort.
Check Your Knuckles: Got larger knuckles? Measure around them, too, especially if you're opting for a cuff bracelet with gemstones or a bangle. This step ensures the bracelet slides on easily without any fuss.
-
Bracelet styles can greatly influence the fit, so it's worth considering the type before measuring:
- Delicate Chain Bracelets: These often look best with a snug fit, enhancing their elegance.
- Cuffs: Measure your wrist without adding any extra length. Cuffs, especially those with gemstones, are designed to stay secure and in place.
- Bangles: A looser fit is generally better here. It allows the bracelet to slide comfortably over your hand, making it easy to wear and remove.
-
Consider the Cuff Design: Cuff bracelets with larger stones, like an amethyst gemstone bracelet or a chunky gemstone bracelet, require a bit more consideration. The width and thickness of the stones can affect the fit.
- Add Extra Length: To accommodate the stones comfortably, add about 1/4 to 1/2 inch to your wrist measurement. For example, if your wrist measures 6 inches, you might choose a cuff size between 6.25 to 6.5 inches.
- Fit Preference: If you like a snug fit that keeps the bracelet in place, opt for a size close to your wrist measurement. On the other hand, a slightly looser fit allows for more movement, which might be preferable for everyday wear, especially with chunkier designs.
-
What Are Bracelet Fastening Helpers? These handy tools assist in securing your bracelets, particularly helpful with cuffs or vintage gemstone bracelets. They hold the bracelet in place, making it easier to fasten without the risk of it sliding down your wrist.
Are They Useful? Absolutely! Tools like the WynBing Bracelet Fastening Helper can be a game-changer, especially when dealing with intricate designs like multi-colored gemstone bracelets or a gold multicolor gemstone bracelet. However, a few things to consider:
- Compatibility: Fastening helpers are best suited for open cuff bracelets. They allow you to position them effectively, though thicker or uniquely designed cuffs might need a more specialized helper.
- Size and Shape: The effectiveness of a fastening helper can vary depending on the bracelet's size and shape. For example, sterling silver gemstone bracelets might require a different approach than a silver cuff bracelet with gemstones.
- Material Considerations: If your bracelet is made from delicate materials or features intricate designs, be cautious with helpers that apply pressure. Always ensure that the tool is gentle to avoid damaging your bracelet.
- Adjustability: For adjustable bracelets, a helper can be particularly useful in achieving the perfect fit. However, with non-adjustable cuffs, the benefits might be more limited.
Bracelet Fastening Helpers to Buy Now
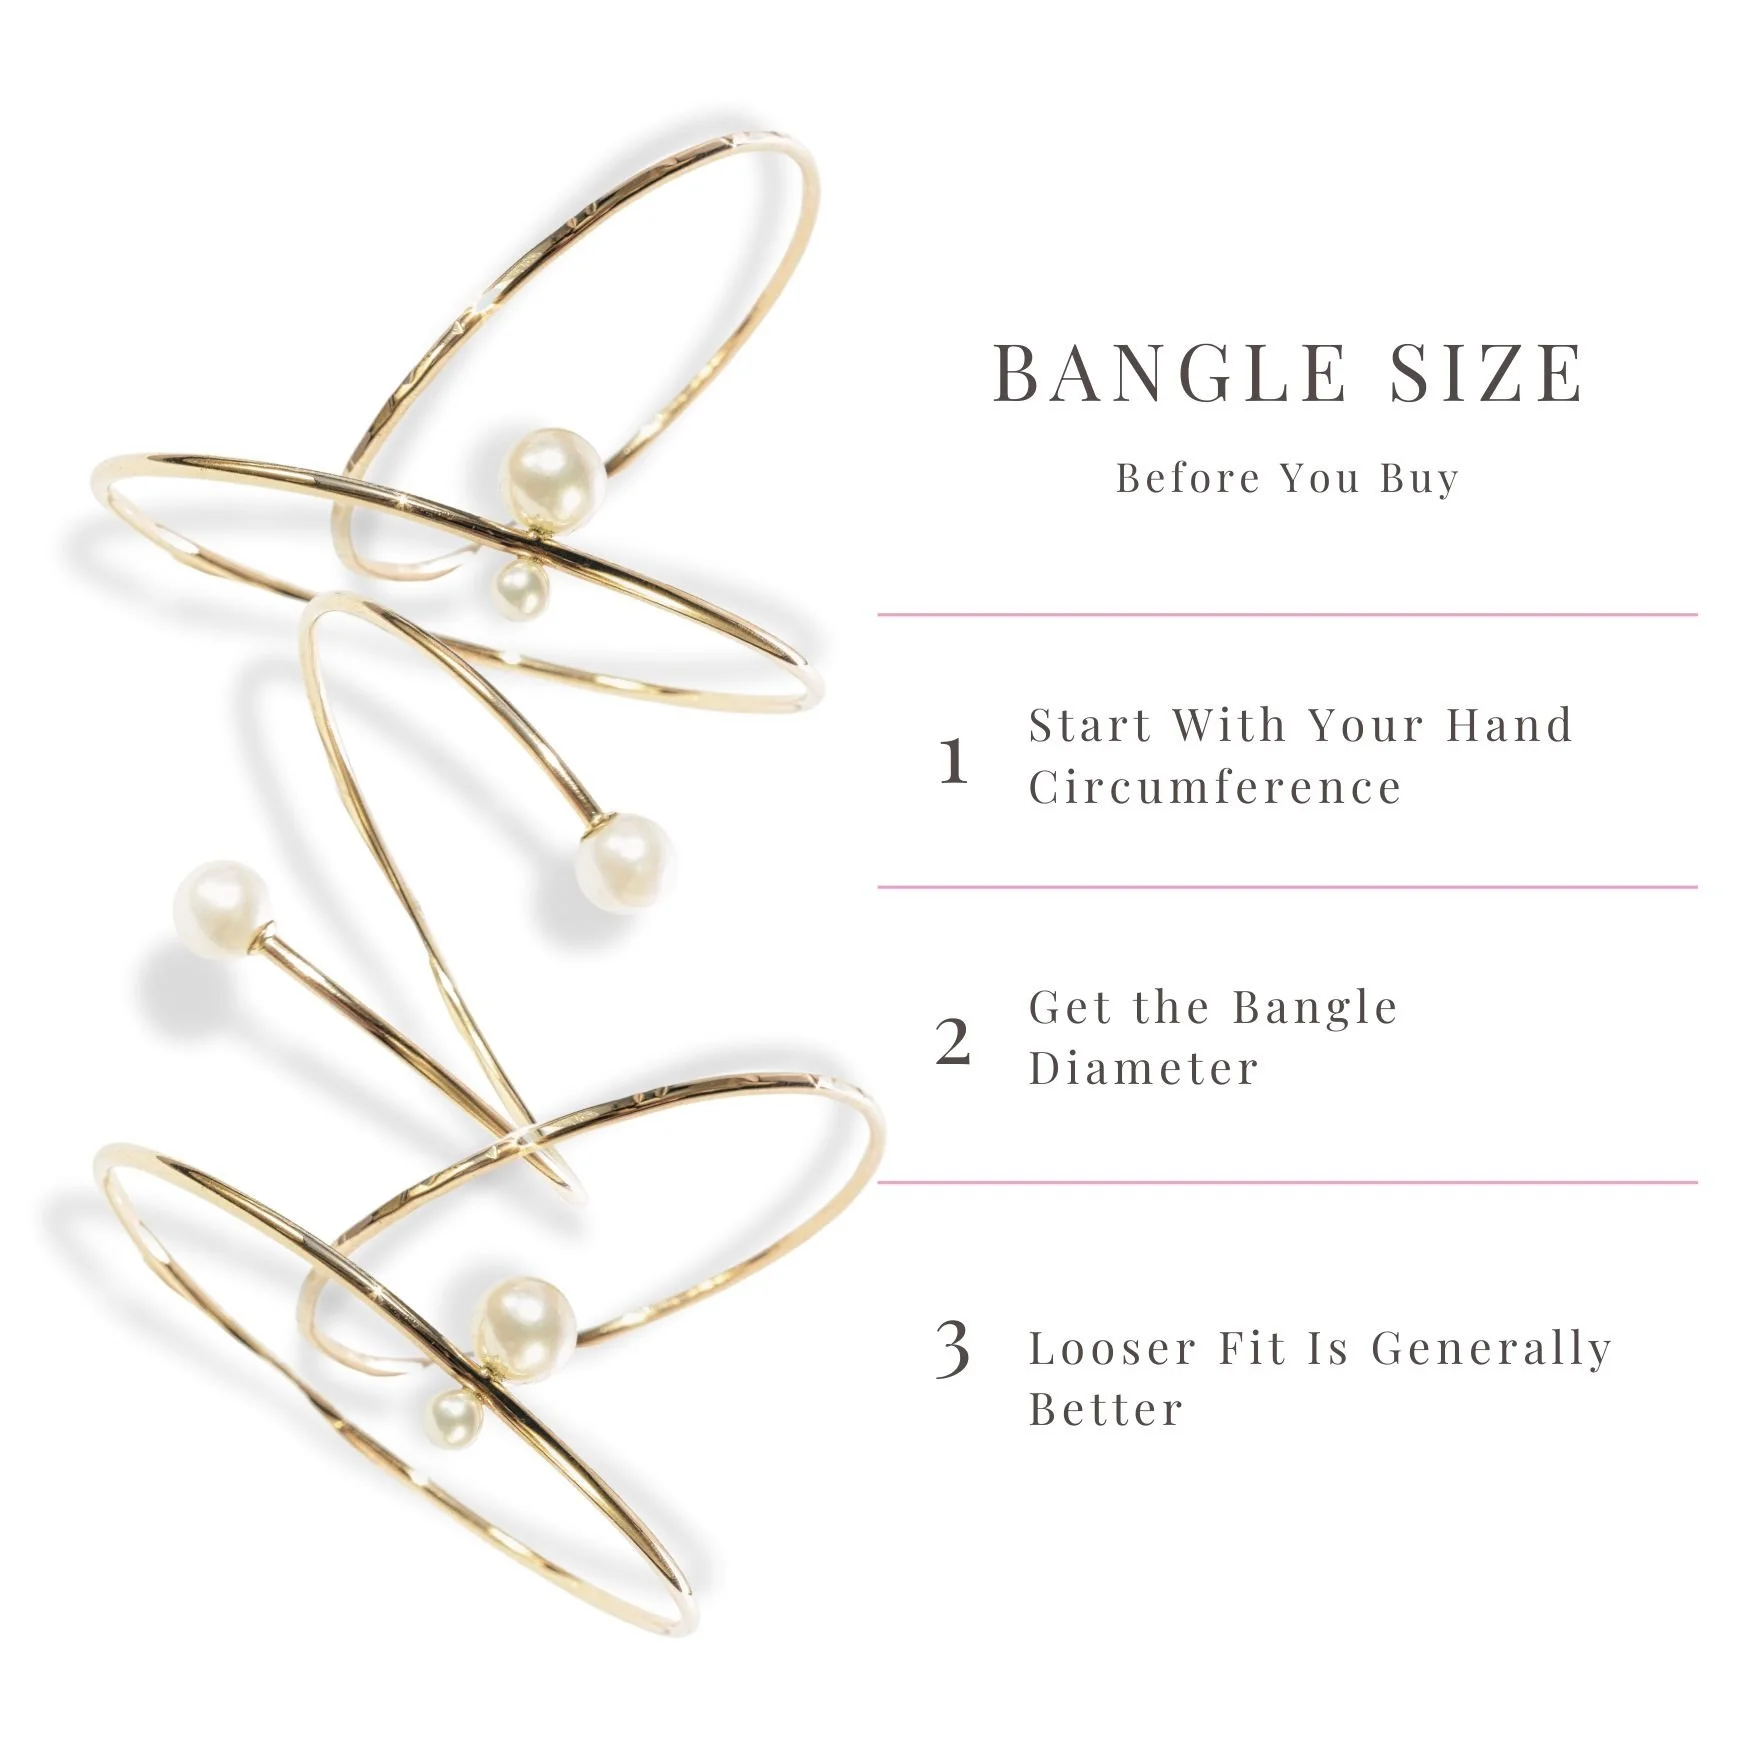
Bangle Size Guide
To get your hand circumference:
Measure around the widest part of your hand.
Compare measurement with the bangle circumference size chart below.
To get the bangle diameter:
Measure the inner diameter of a bangle you already have.
Compare measurement with the bangle diameter size chart below.
(All measurements are approximate)
| Bangle Size | Diameter | Circumference | |||
|---|---|---|---|---|---|
| inches | cm | inches | cm | ||
| XS | 2.2 | 2.125″ | 5.4 | 6.67″ | 16.9 |
| S | 2.4 | 2.25″ | 5.7 | 7.06″ | 18 |
| M | 2.6 | 2.375″ | 6 | 7.46″ | 19 |
| L | 2.8 | 2.5″ | 6.4 | 7.85″ | 19.9 |
| XL | 2.10 | 2.625″ | 6.7 | 8.24″ | 20.9 |
| 2XL | 2.12 | 2.75″ | 7 | 8.64″ | 22 |
| 3XL | 2.14 | 2.875″ | 7.3 | 9.03″ | 22.9 |
| 4XL | 3 | 3″ | 7.6 | 9.42″ | 23.9 |

Bangle Sizing
FAQ's
-
Ensuring your bangle bracelets fit perfectly involves measuring the widest part of your hand, not just your wrist. Here’s a quick guide:
- Tuck Your Thumb: Start by folding your thumb towards your palm, simulating the position your hand takes when slipping on a bangle.
- Measure the Widest Point: Wrap a flexible measuring tape around your knuckles, the widest part of your hand, to determine its circumference.
- Choose the Right Size: With your hand’s circumference in mind, select a bangle that is slightly larger for a snug yet comfortable fit. For instance, if your hand measures 20 cm, opt for a bangle that’s just a bit smaller to ensure it stays secure when worn.
-
If arthritis or limited dexterity makes measuring your hand for a bangle more challenging, these tips can help simplify the process:
- Use a Flexible Tool: Instead of a rigid measuring tape, try a piece of string or a flexible paper strip, which may be easier to manipulate if your mobility is restricted.
- Ask for Assistance: Enlisting the help of a friend or family member can ensure accurate measurement and reduce strain on your hands.
- Focus on the Widest Part: As with any measurement, tuck your thumb towards your palm and measure around the knuckles, the widest part of your hand.
- Consider Arthritis-Friendly Tools: Tools with larger grips or ergonomic designs can make measuring easier for those with arthritis.
-
If your measurement doesn’t align with the bangle size chart, here’s what you can do:
- Verify Your Measurement: Double-check that you measured the widest part of your hand correctly by tucking your thumb in and wrapping a flexible measuring tape or string around your knuckles. If you used string, compare it against a ruler for an accurate reading.
- Account for Size Variations: Remember that sizing standards can vary between brands. If your measurement falls between sizes, opting for the larger size is usually best, especially since bangles must fit over your hand.
- Consider Custom Sizing: If you’re uncertain about the size, don’t hesitate to reach out—I offer custom sizing to create a bangle that fits your hand perfectly.
- Measure a Well-Fitting Bangle: If you own a bangle that fits well, measure its inner diameter and compare it with the sizing chart to find a similar size in your new bangle.
-
It's important to be as accuarte as possible when selecting a bangle size when you order. To minimize mistakes find a bangle you own to determine if your bangle is fitting correctly, look out for these signs:
Signs of a Tight Bangle
- Discomfort or Pain: If the bangle causes discomfort, pinching, or pain, it’s likely too tight. There shouldn’t be any pressure on your wrist or hand.
- Difficulty Putting It On: Struggling to slide the bangle over your hand indicates it may be too small. You shouldn’t need to force it on.
- Skin Indentations: Noticeable indentations on your skin after wearing the bangle suggest it’s too tight.
- Restricted Movement: A tight bangle can limit your wrist’s natural movement, making daily activities uncomfortable.
Signs of a Loose Bangle
- Excessive Movement: If the bangle spins around your wrist or slides down towards your hand, it’s too loose. A well-fitting bangle should stay in place without too much movement.
- Slipping Off: If the bangle slips off easily or feels like it could fall off with minimal movement, it’s too large.
- Visible Gaps: Gaps between the bangle and your wrist indicate that the fit isn’t secure.
Adjusting the Fit
- For Tight Bangles: If your bangle is slightly tight, try using a moisturizer to help slide it on more easily. However, if it remains uncomfortable, consider choosing a larger size.
- For Loose Bangles: To keep a loose bangle in place, consider pairing it with other bangles for added security, or choose adjustable options that can be tightened.